
Overview
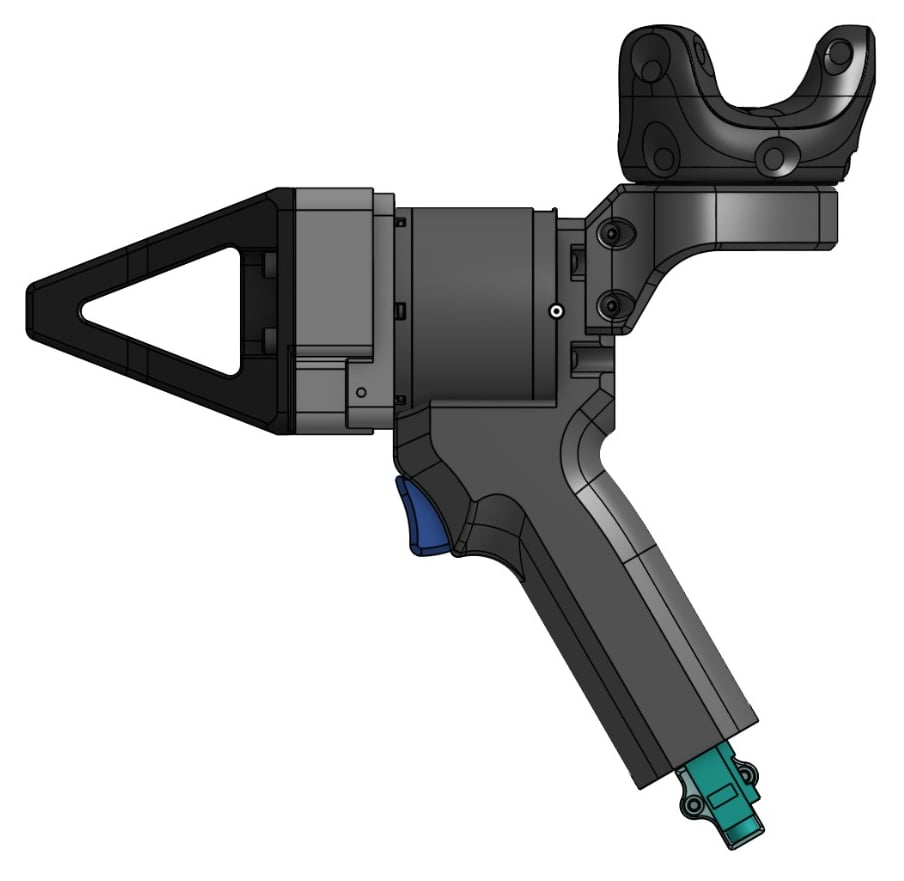
A Mantis kit consists of:- 2× Mantis rigs, left and right. Each carries the same gripper as Axol, the trigger, and the tracker mount.
- 1× Mantis Hub, the link between the rigs and the host. L and R are etched on the case to mark the left and right gripper connections, an XT30(2+2) lead feeds out from each to plug into its rig, and a USB cable connects the hub to the ZED Box.
- A pose source, one of the three tracking systems described in Mantis Tracking: Quest controllers (no extra hardware), VIVE Tracker 3.0 with 1–2 SteamVR base stations, or VIVE Ultimate Trackers with their wireless dongle.
- (Optional) wrist cameras: up to two ZED cameras assigned to the Left Mantis / Right Mantis slots, stored separately from the Axol camera layout.
0.0 (open), fully squeezed is 1.0 (closed). It calibrates itself at power-on, so there is nothing to set up on the host.
The grippers are driven by the same axol-rt realtime core as the robot’s arms (see Provision): for the duration of each take — and for a Mantis teleop run — the core owns the two gripper CAN interfaces and streams the POSITION_FORCE commands at 240 Hz, while Python only reads the triggers and trackers and hands it normalised targets. Between takes the grippers are torque-off and the core is stopped; the one-time open-stop calibration and the torque-off checks run from Python on the idle bus. The trigger reader’s receive-only socket shares each interface with the core (the kernel duplicates frames to every open socket, and the core ignores the trigger node’s ID).
Tracker mounts
The kit includes the mount for the pose source you purchased: Quest, Lighthouse (VIVE Tracker 3.0), or Ultimate. If you purchased Mantis without a tracker, print your own mount (see below).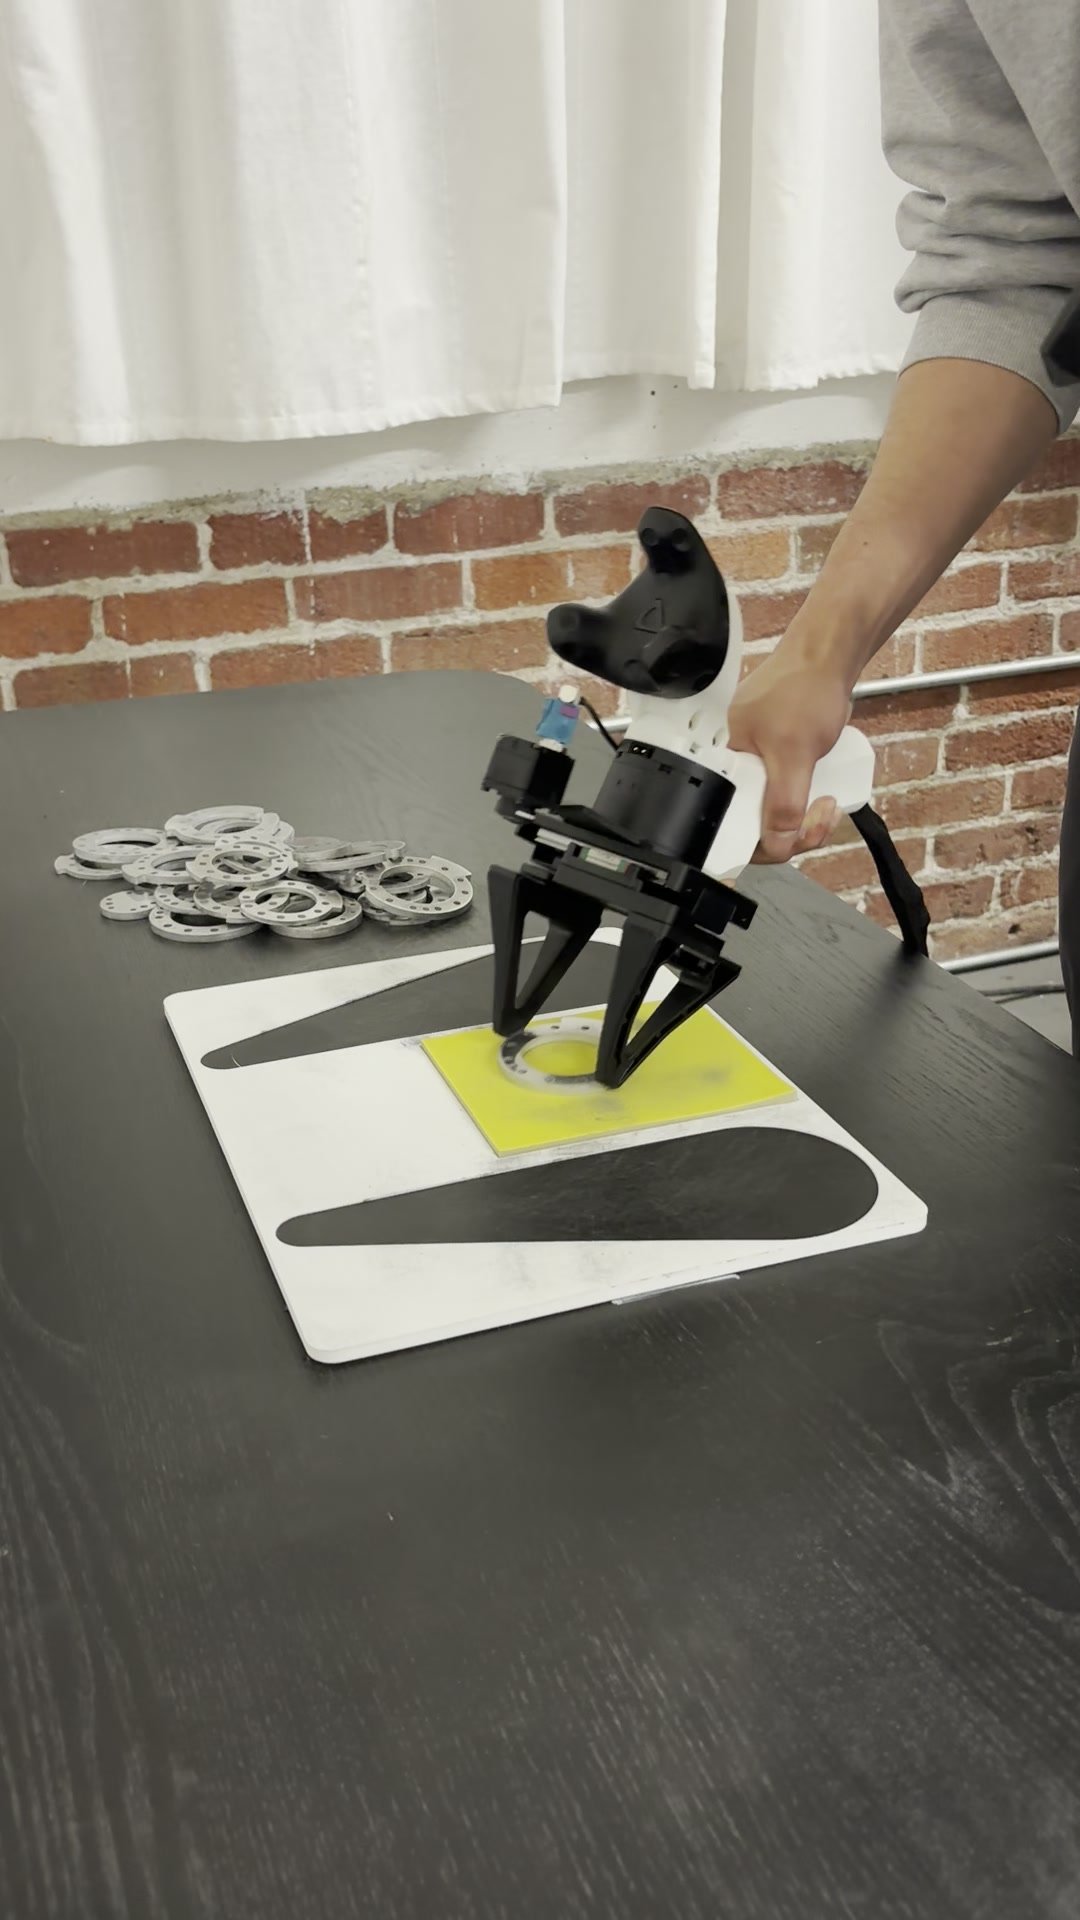
Fastening a VIVE tracker to its mount
Both VIVE trackers fasten to the flat-back mount the same way. You need:- 1× 1/4”-20 × 1/2” screw, threaded into the tracker’s standard 1/4”-20 socket from below the mount.
- 1× mount pin (
mantis_mount_pin.stl, a 5 mm × 10 mm 3D-printed pin). It sits in the locating hole next to the 1/4”-20 socket and stops the tracker rotating on the screw, which keeps the factory tracker → gripper transform valid.
Printing your own mount
If you ordered Mantis without a tracker and are supplying your own, you can 3D-print the mount instead. Download the model for your pose source:- Quest 3 controller mount, left and right (STL). The Touch controllers are mirror images, so print one of each.
- VIVE Tracker 3.0 mount (STEP)
- VIVE Ultimate Tracker mount (STEP)
Installation
Setting up a Mantis kit on a host with the Axol SDK installed, with or without a robot.Using Mantis without a robot
You don’t need an Axol robot to collect data with Mantis: the rigs, hub, and a pose source are a complete data-collection setup on their own. Besides the kit, you need a host machine. Mantis uses the same one-command install as Axol, on Linux with systemd. The wrist cameras are ZED GMSL cameras and data collection needs at least one of them recording, so the host must be an NVIDIA Jetson with GMSL inputs (such as a ZED Box); the grippers, triggers, and tracking alone work on any Linux machine. On a host where Mantis is the only hardware attached, the control panel identifies and connects it automatically, and with Mantis selected on its tile the panel offers exactly the two operations Mantis supports: Teleoperation (the grippers-only trigger check, no tracking) and Data collection. The Axol-only operations stay hidden. The setup path on a Mantis-only host is the rest of this page, unchanged:- Install the SDK on the host.
- Connect the hub and let the panel identify the CAN interfaces.
- Select and connect Mantis and confirm the side mapping.
- Run the grippers-only teleop check.
- Mount and assign the wrist cameras.
- Set up the pose source in Mantis Tracking, then collect data.
Connecting the hub
1
Cable the rigs to the hub
L and R are etched on the hub’s case to mark the left and right gripper connections; an XT30(2+2) lead feeds out from each: plug the left rig into L and the right rig into R. The mapping is logical and can be swapped in software later, but wiring it this way matches the defaults so nothing needs to change.
2
Connect the hub to the ZED Box
Plug the USB cable from the Mantis Hub into the ZED Box (this is how the host communicates with the grippers) and power both rigs. The host discovers the hub alongside the Axol Hub: it works out which side is which rig, assigns the persistent left/right interface names, and installs a udev rule and hotplug unit so a replug brings the interfaces back up on its own.
3
Let the control panel identify it
Open the control panel and connect the Axol Host. When the panel comes online it inventories the host’s CAN interfaces; a new hub that still shows as anonymous
can0 / can1 is identified automatically as long as the rigs are powered. If the probe cannot prove the role (unpowered rig, ambiguous hub), power the hardware and press Connect or Retry CAN identification, or run axol can.setup in a terminal as the interactive fallback.axol can.setup is a disruptive link reset for every attached adapter (Axol arms, Jelly, and Mantis pair), so run it while nothing is driving the robot.Selecting and connecting Mantis
1
Select Mantis
Press Select on the Mantis tile. This is the system-wide device choice: teleoperation and data collection now run on the rigs, the idle link auto-connects to them, and the Axol-only operations are hidden until Axol is selected again. The selection is stored with the host’s shared settings, so every operator sees the same choice.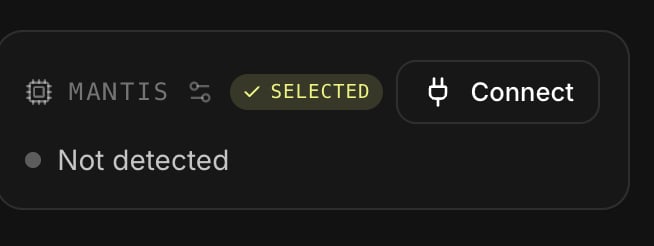
2
Connect
With Mantis selected and detected, the panel connects it automatically; otherwise press Connect on the tile. The tile then shows the two grippers’ CAN health at 1 Hz: a red square is an unreachable or faulted gripper and blocks Mantis operations until fixed.
3
Check the side mapping
Click the Mantis tile’s title to open Mantis settings, then CAN. The left and right fields must be non-empty and different (defaults 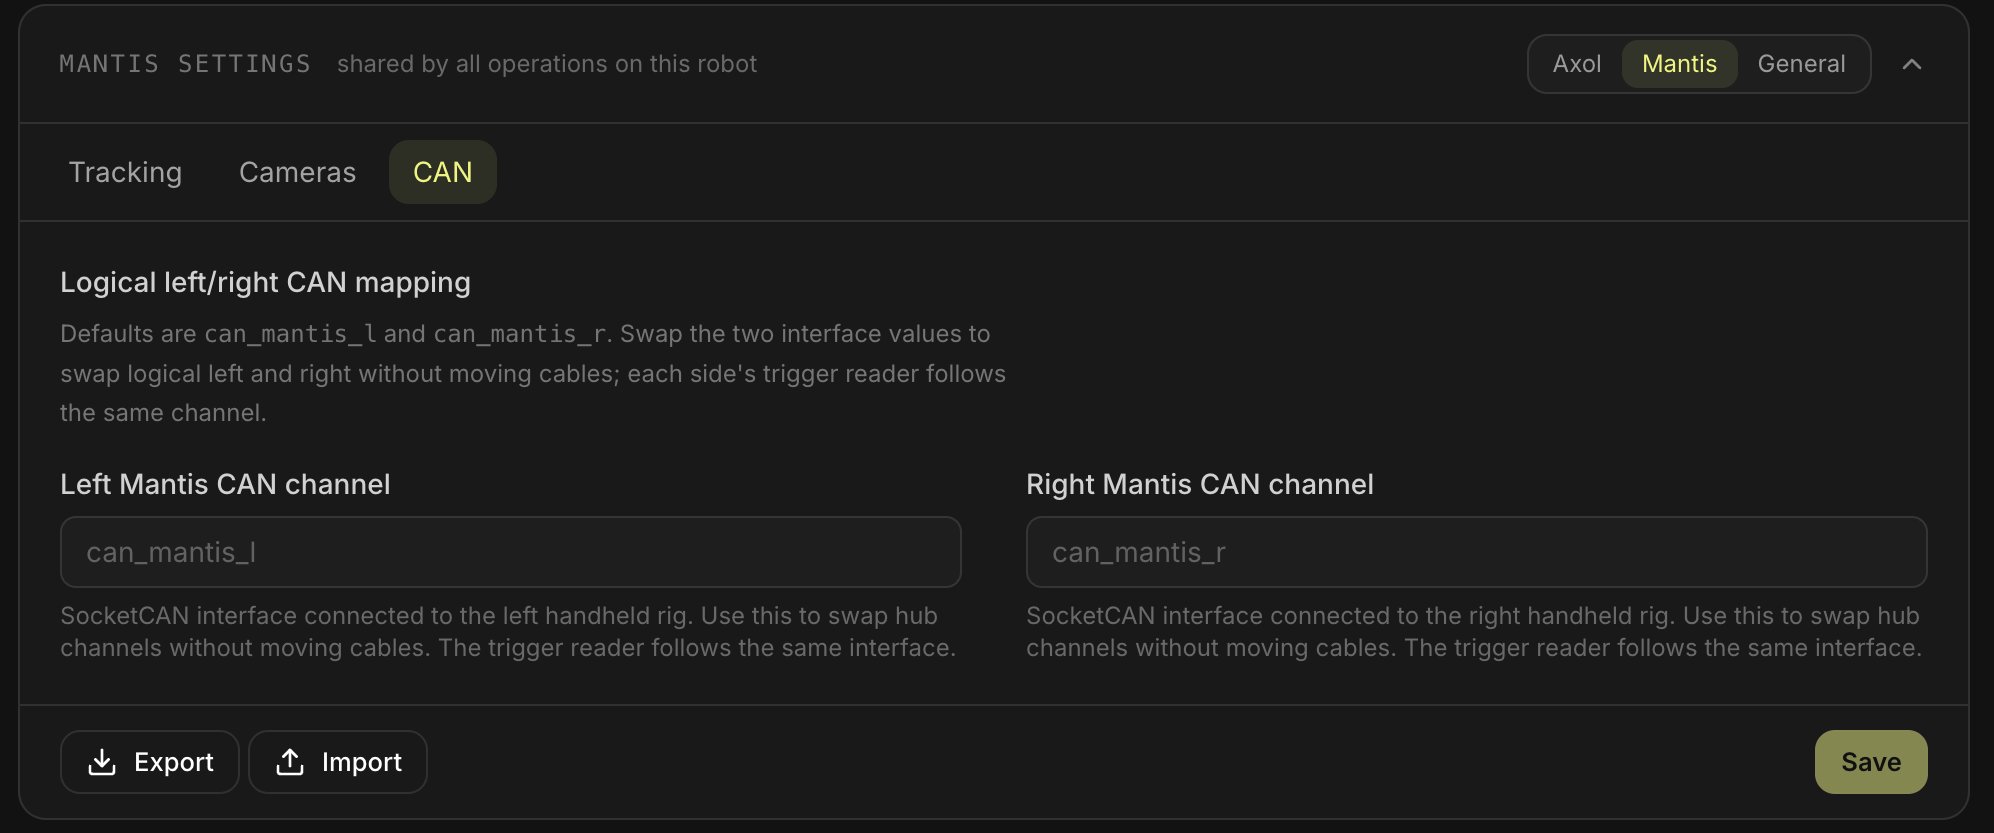
can_mantis_l / can_mantis_r). If squeezing the physical left trigger moves the reported right input, swap the two values, save, and reconnect; the gripper and its trigger reader move together, so no cables need to change.Testing the triggers and grippers
Before setting up cameras or tracking, prove that each trigger drives its own gripper. Mantis teleop is exactly this check: it needs only CAN and never uses tracking, cameras, headset, or transforms. With Mantis selected, pick Teleoperation and press Start, and the run drives the grippers straight from the rig triggers. (Tracked Mantis runs belong to data collection, once Mantis Tracking is set up.) From the CLI:Mounting the cameras
Mantis records wrist views only. Mount up to two ZED cameras on the rigs (mounting is the same as on the Axol gripper) and connect each camera to the ZED Box with its GMSL2 cable. Note each camera’s serial (QR code on the back) and which rig it is on, then assign them under Mantis settings → Cameras as Left Mantis / Right Mantis. The Mantis layout is stored separately from Axol’s overhead / left arm / right arm layout, so changing one never overwrites the other. At least one Mantis camera must have Record enabled before data collection can start; see Cameras for the stream/record controls.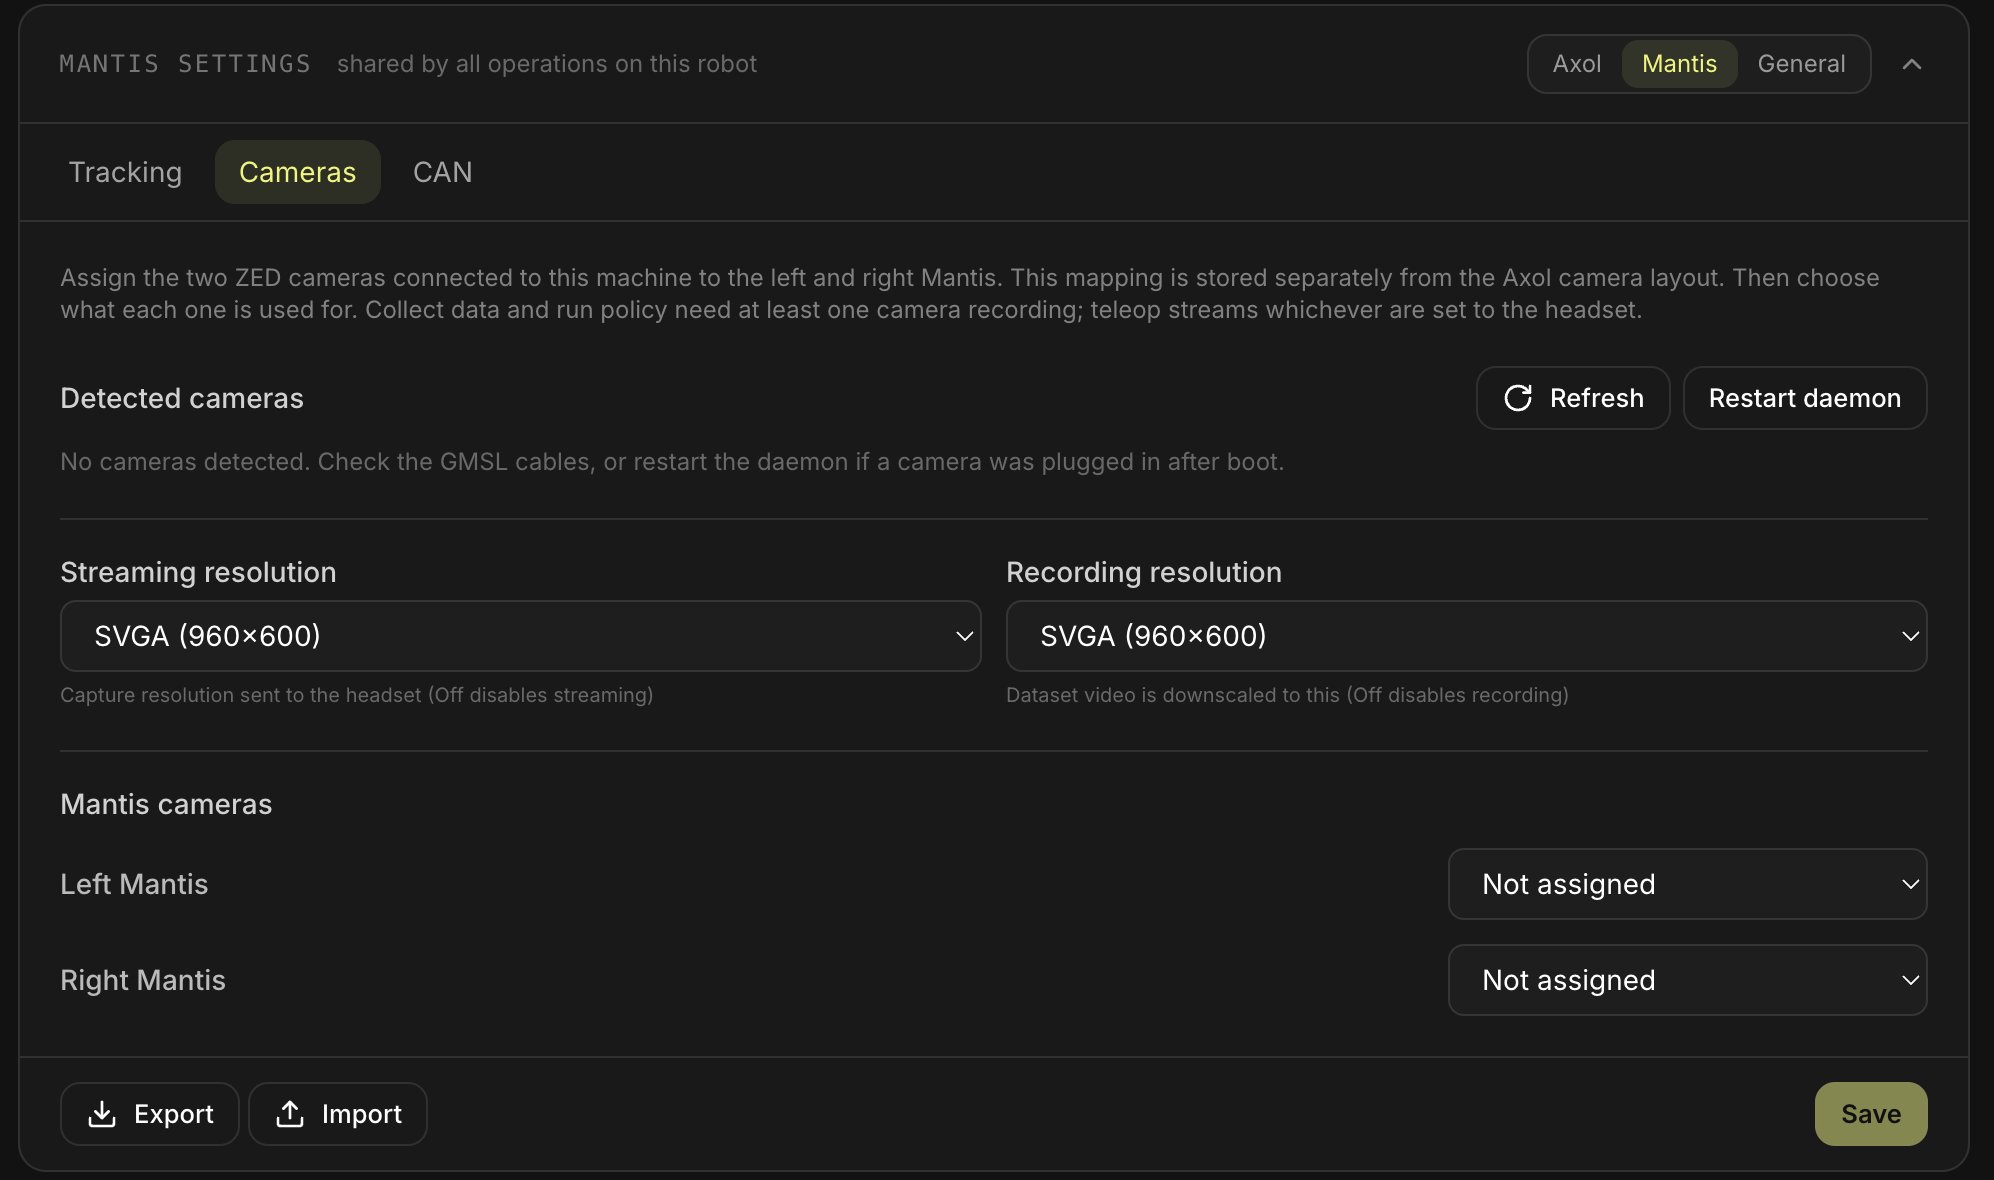
Next steps
Mantis Tracking
Set up Quest, Lighthouse, or Ultimate tracking for the rigs.
Teleoperation
Validate the rigs live before recording.