
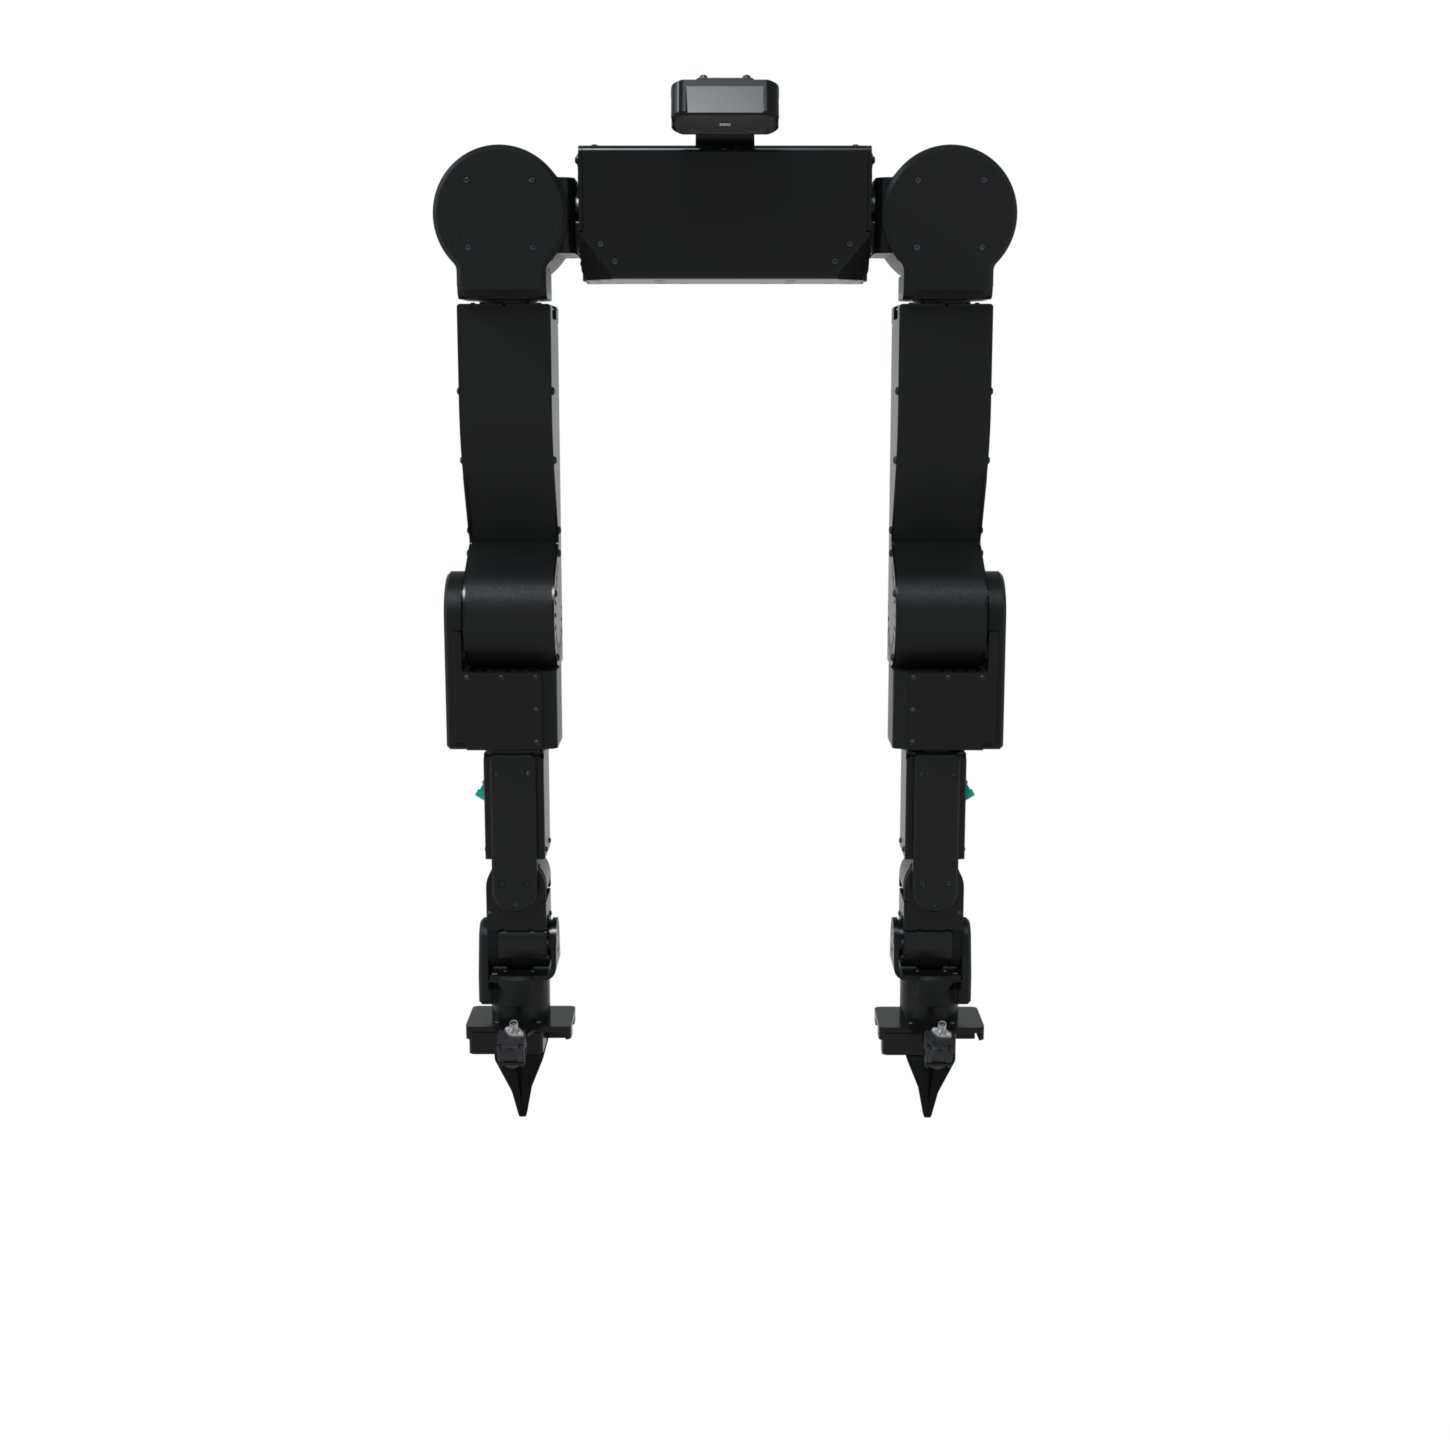
- Axol: the dual-arm robot. Every configuration starts here.
- Mount: one of the following.
- Standalone: bolt Axol to your own table or fixture.
- Owl Mount: a rigid column that bolts to a table or fixture.
- Ox Cart: height-adjustable mobile cart with a manual lift and leveling casters.
- Jelly Mobile: powered mobile base with a battery and telescoping lift.
- Camera Kit (optional): two ZED X One S Fisheye wrist cameras and one ZED X Mini stereo head camera, with mounts and GMSL2 cables.
- Compute Kit: the NVIDIA Jetson computer that runs Axol. It comes in three sizes:
- ZED Box Orin: Jetson Orin NX 16GB in the industrial ZED Box.
- Jetson AGX Orin: 64GB, for running the full Camera Kit.
- Jetson Thor: 128GB Blackwell, for VLA policies and the full Camera Kit on one box.
Axol Overview
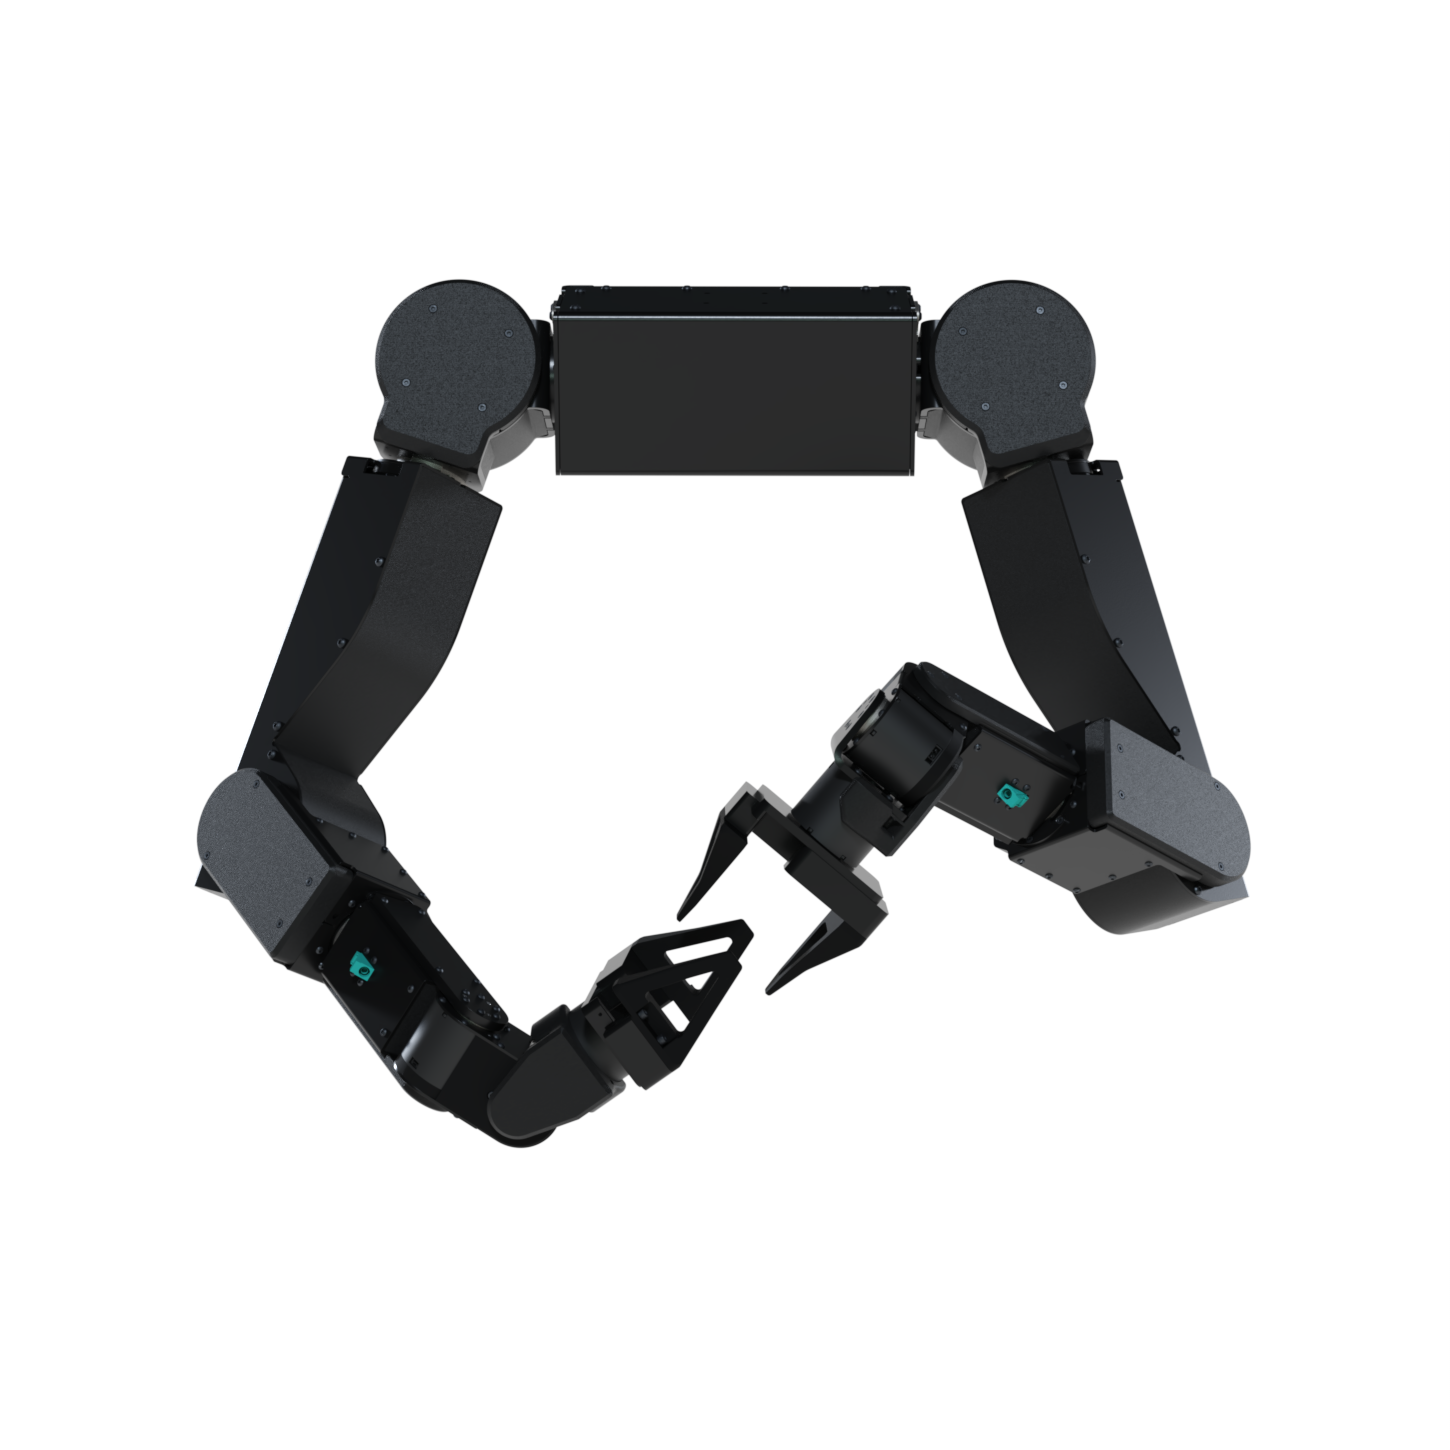
- 2× GMSL2 ports for the wrist cameras.
- 1× XT90 connector for power (24V DC, 60A peak).
- 1× locking USB-C connector for control.
- Parallel: the standard two-finger gripper.
- Parcel: a gripper with hinged plates, used by box mode.
--axol.gripper parallel or --axol.gripper parcel on the command line (see AxolConfig.gripper). When the arms first enable after power-up, Axol measures each gripper’s travel against its end stops.
Reference diagrams
- Mounting holes (PDF)
- Joint layout drawing (PDF)
- Gripper drawing (PDF)
- Gripper CAD model (STEP)
Owl Mount Overview
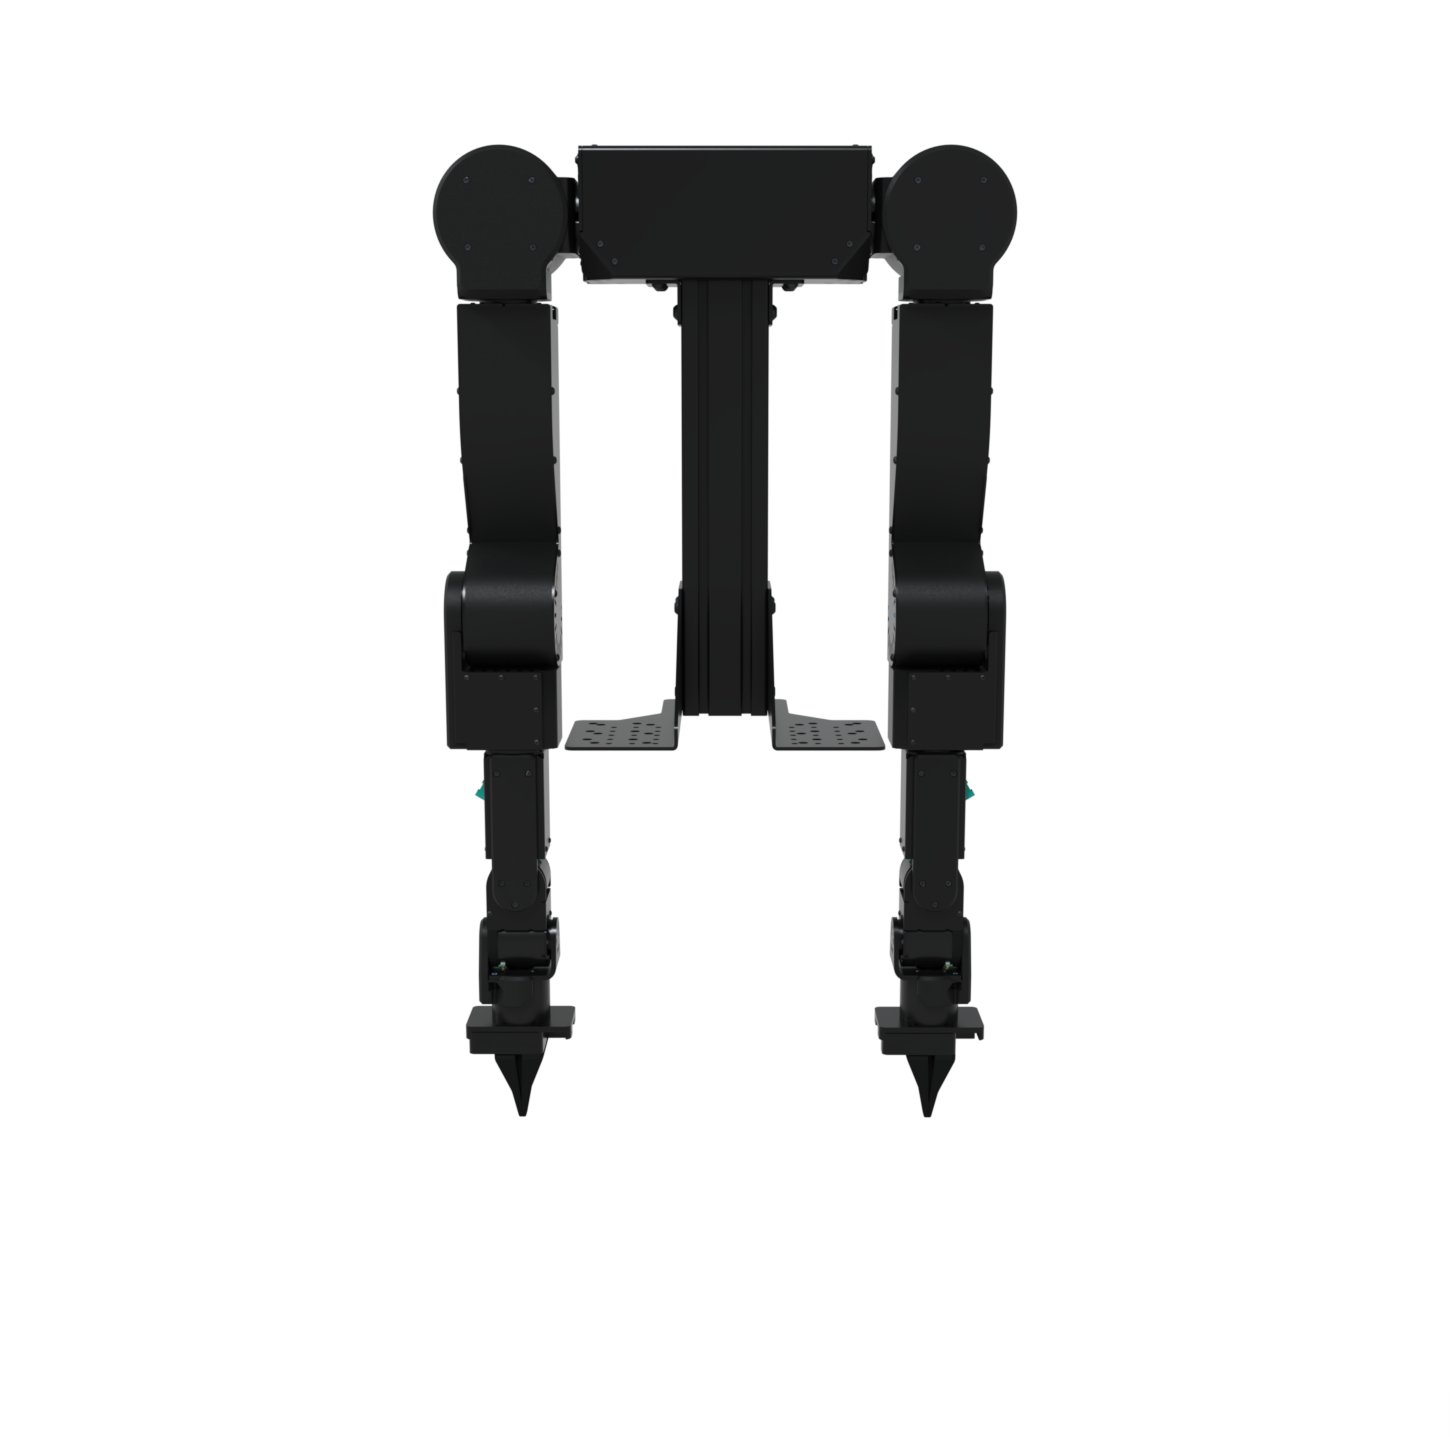
Reference diagrams
Ox Cart Overview
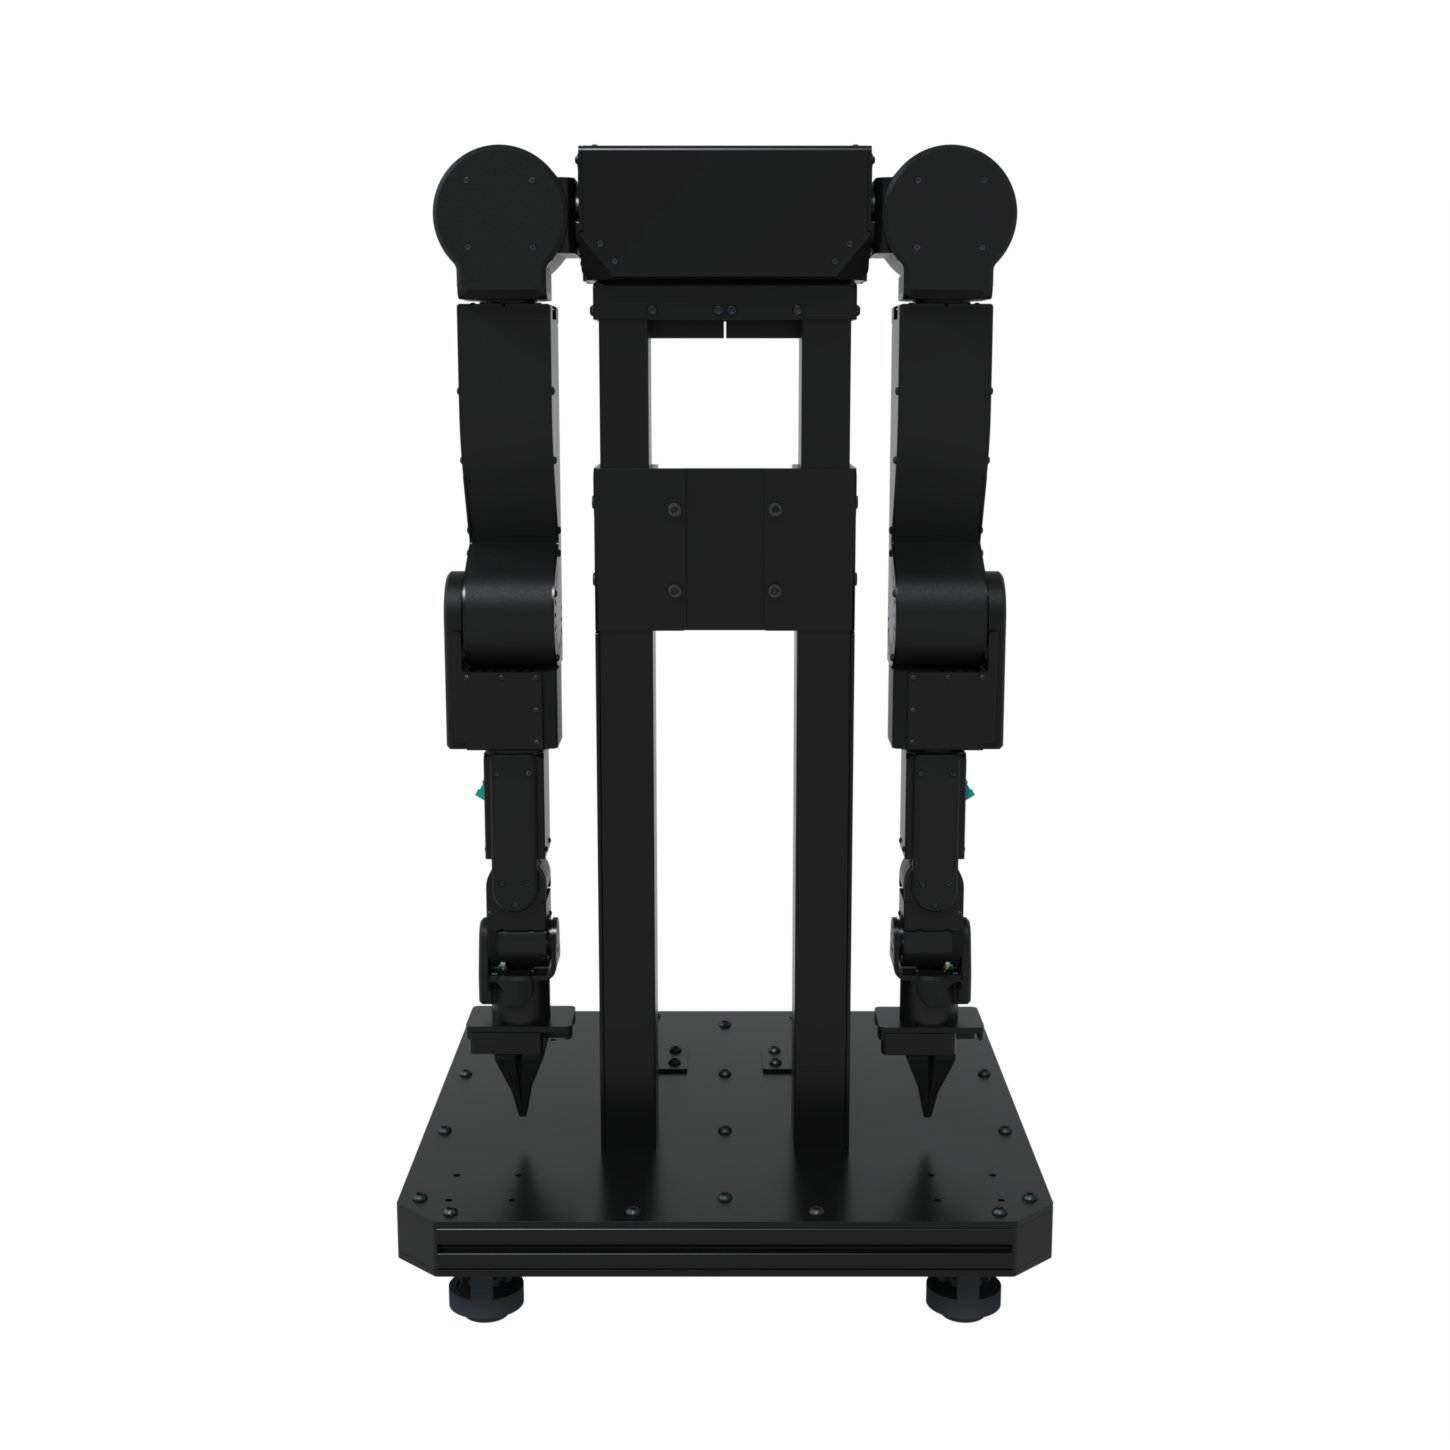
Reference
Jelly Mobile Overview
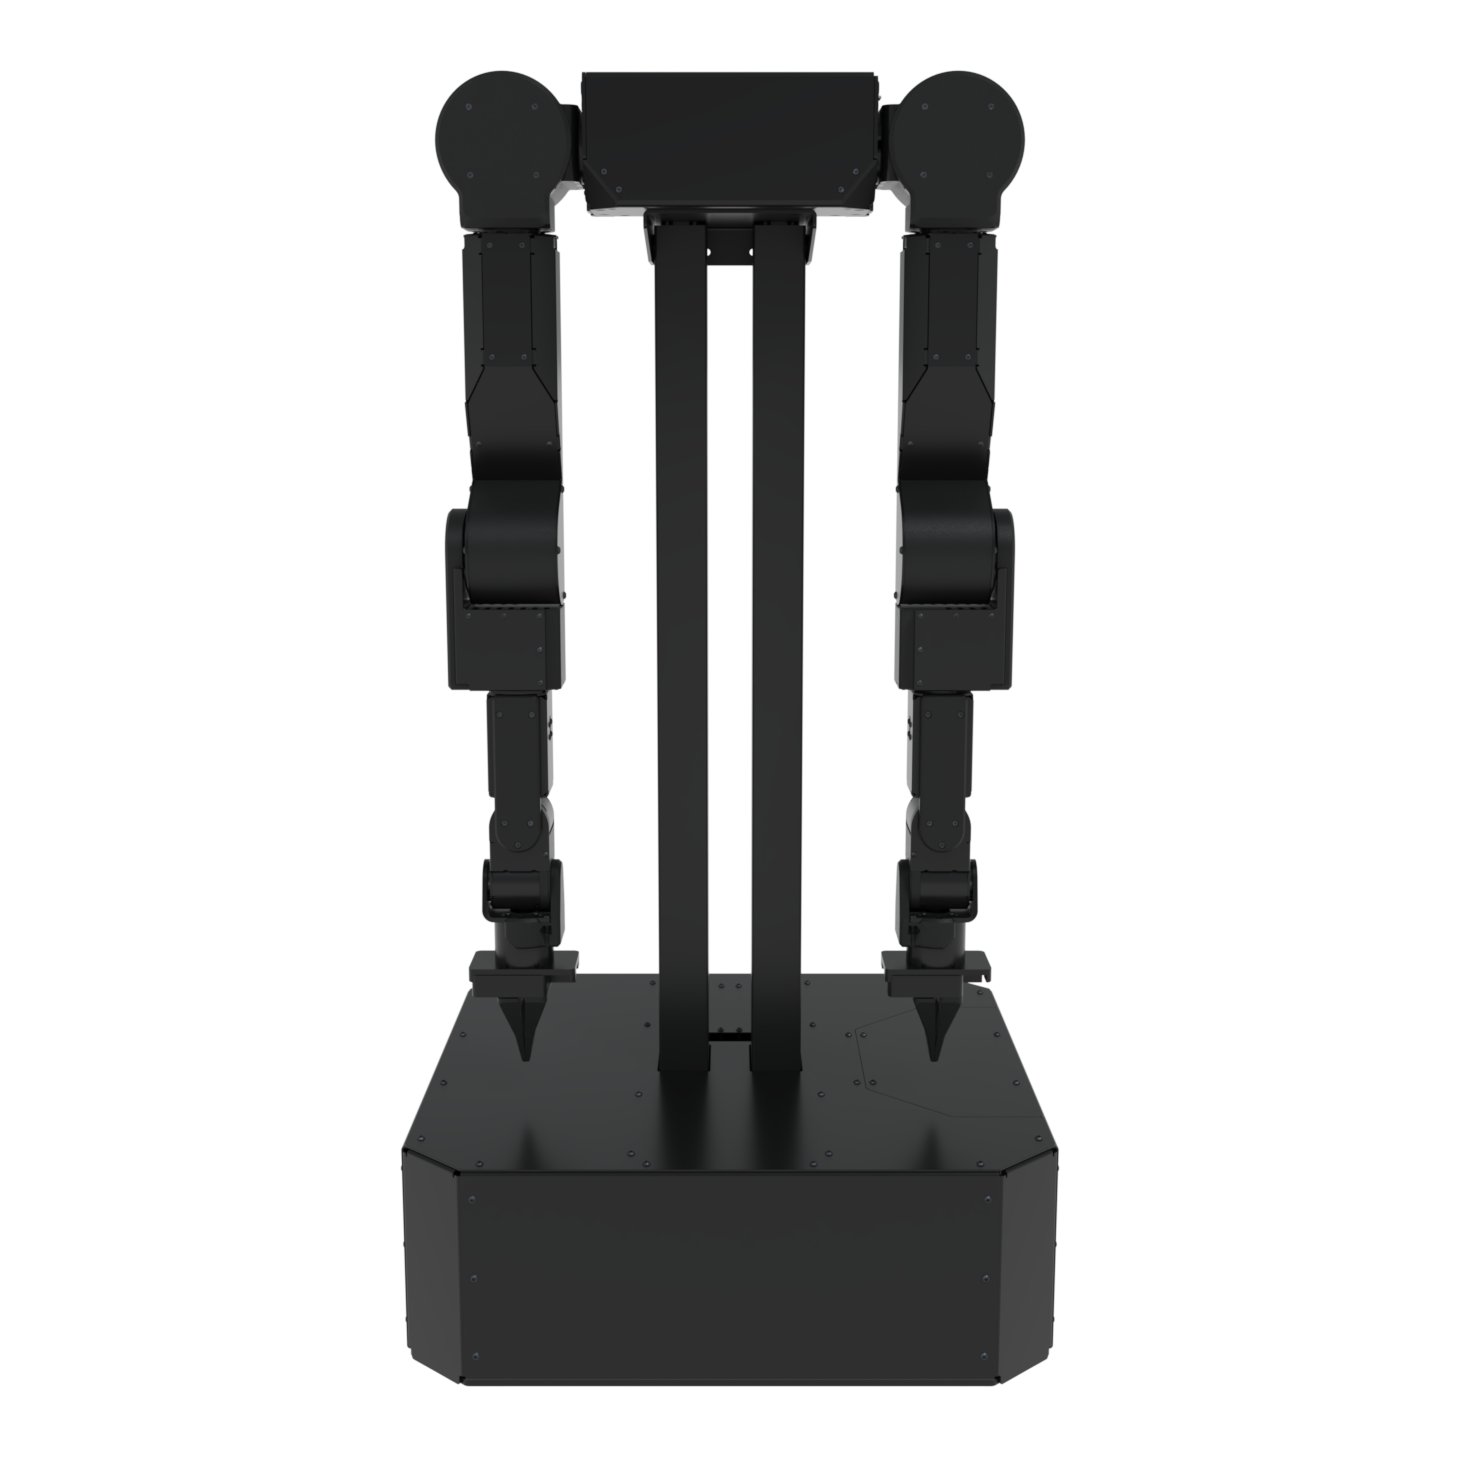
Reference
Camera Kit Overview
- 2× ZED X One S Fisheye wrist cameras (global shutter, 204° field of view) with wrist mounts.
- 1× ZED X Mini stereo head camera (global shutter) with a head mount.
- FAKRA GMSL2 cables: three 1.5 m cables and two 0.3 m right-angle cables.
Reference
- Camera Kit product page
- Wrist Mount (STEP)
- Head Mount (STEP)
Compute Kit Overview
The Compute Kit is the NVIDIA Jetson computer that runs Axol, records the cameras and runs policies. It comes in three sizes:Reference
Next steps
Hardware Setup
Step-by-step setup for each mount: Standalone, Owl Mount, Ox Cart or Jelly Mobile.
Installation
Install the software on the robot’s computer and open the control panel.
Mantis Hardware
Set up the handheld Mantis rigs that record demonstrations without the robot.