
Tools required
You’ll need hex (Allen) keys for the socket head cap screws on the camera mounts:Mounting the cameras
This section applies to configurations with the Camera Kit.Before mounting each camera, scan the QR code on the back to grab its serial ID and note down which camera goes where (left wrist, right wrist, head). You’ll need this mapping later to match each camera ID to its position.
Wrist cameras
1
Mount the camera to the bracket
Fasten each wrist camera to its mount with 4x M2×8 screws.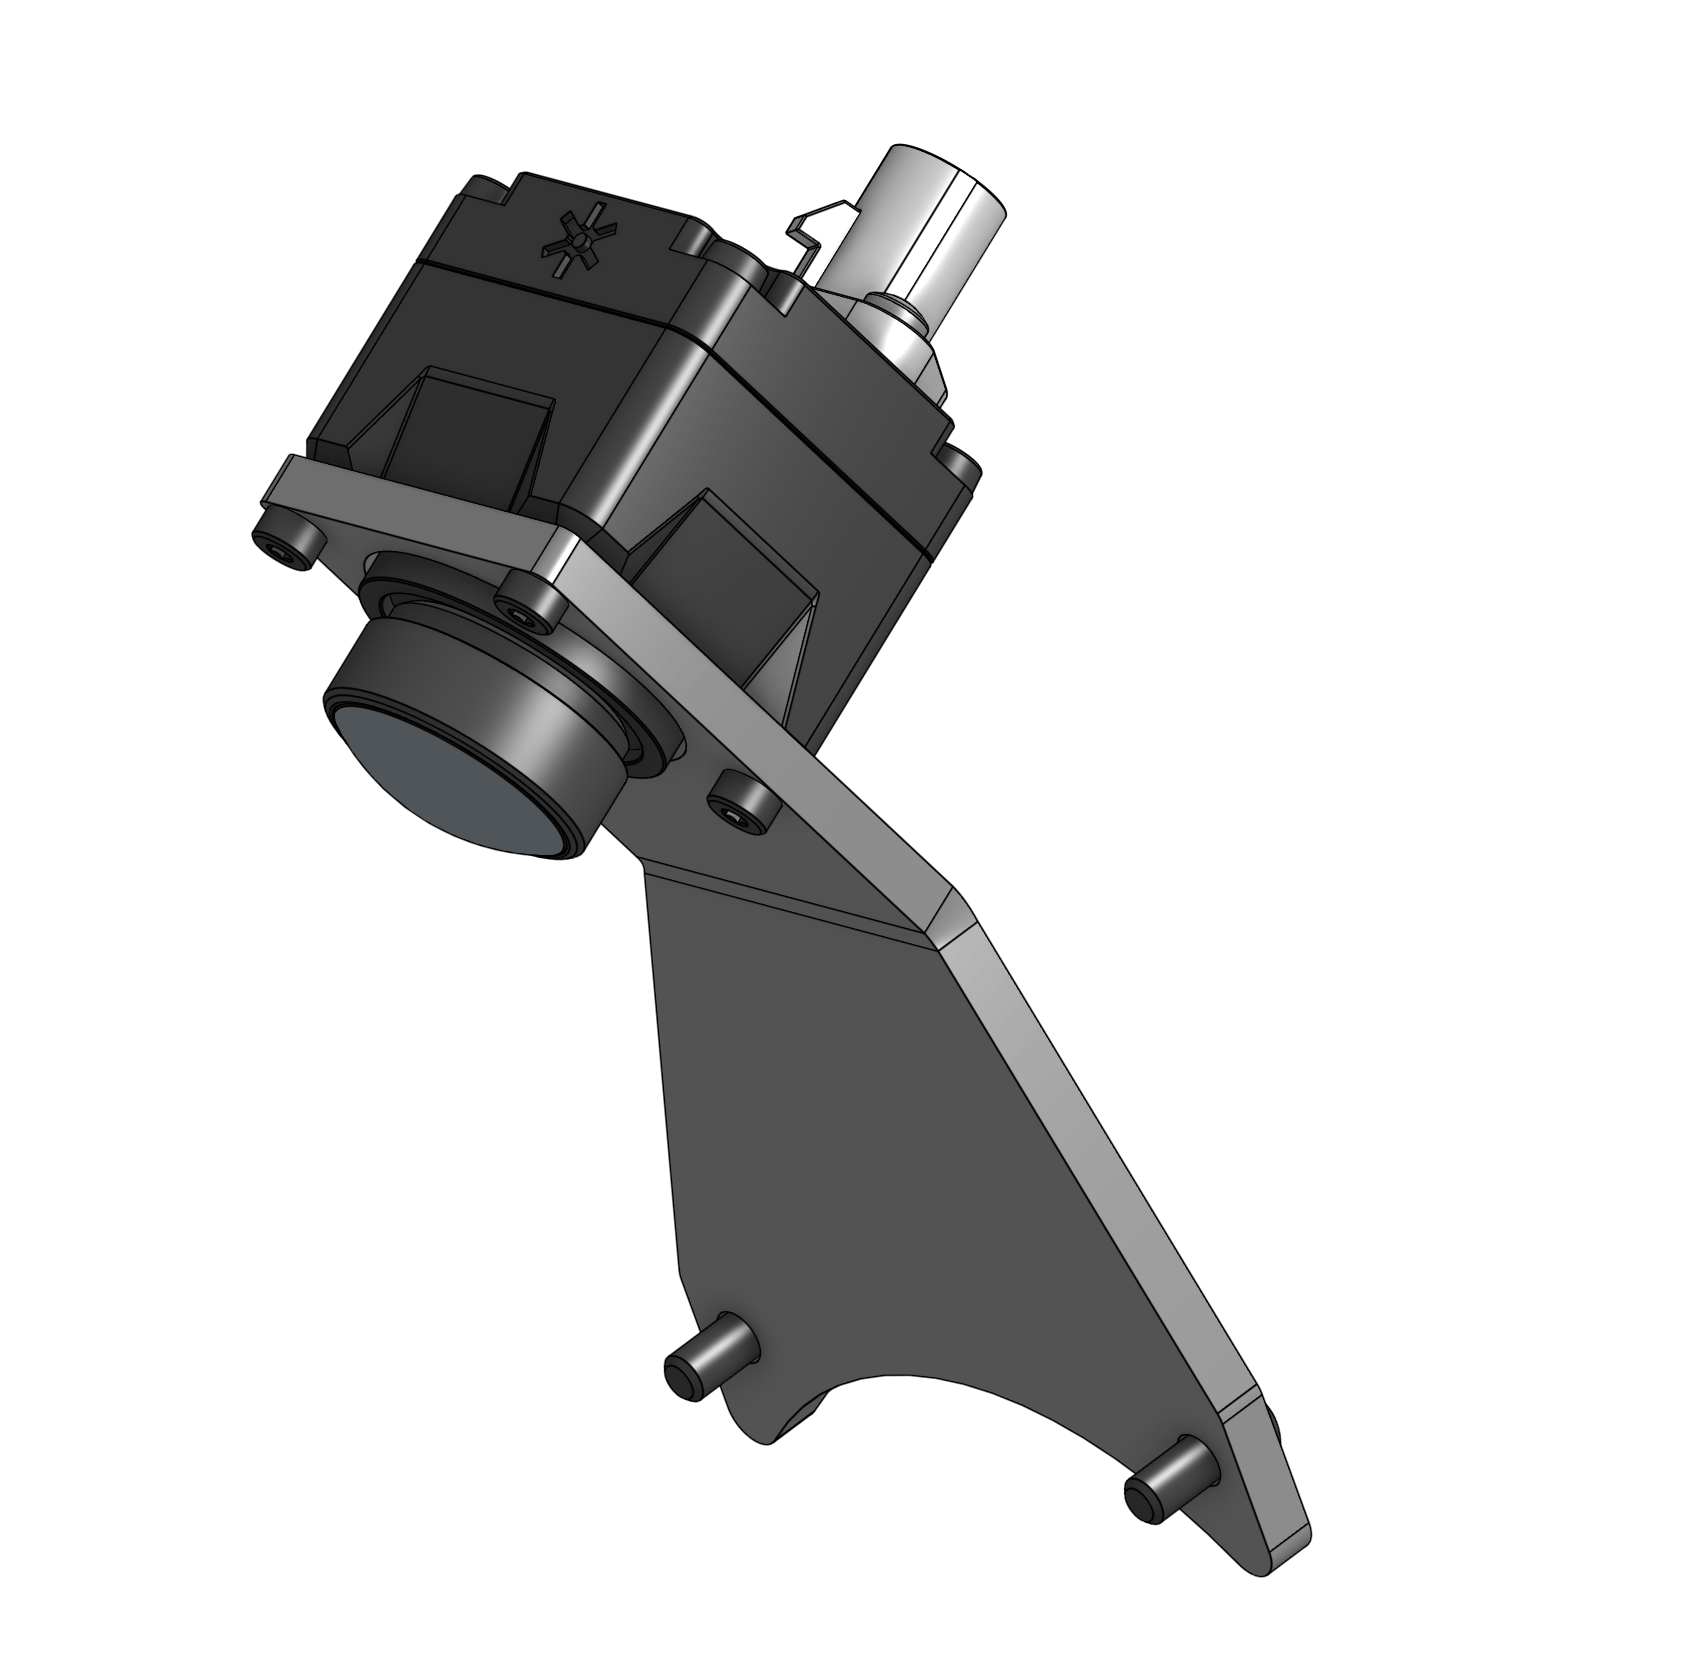
2
Mount the bracket to the wrist
Attach the camera-and-bracket assembly to the wrist with M3×8 screws.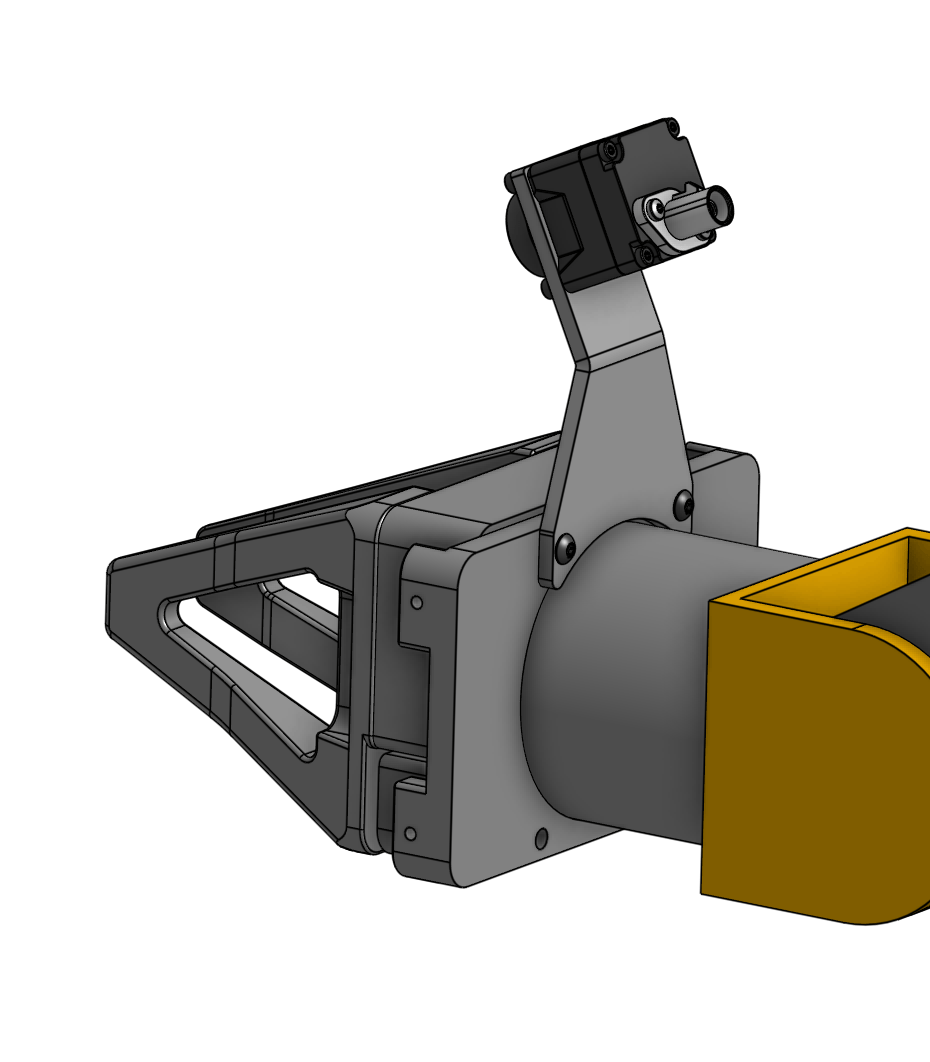
3
Remove the lens cap
Remove the lens cap from the wrist camera.
Head camera
1
Mount the camera to the bracket
The head camera screws depend on which model your Camera Kit ships with: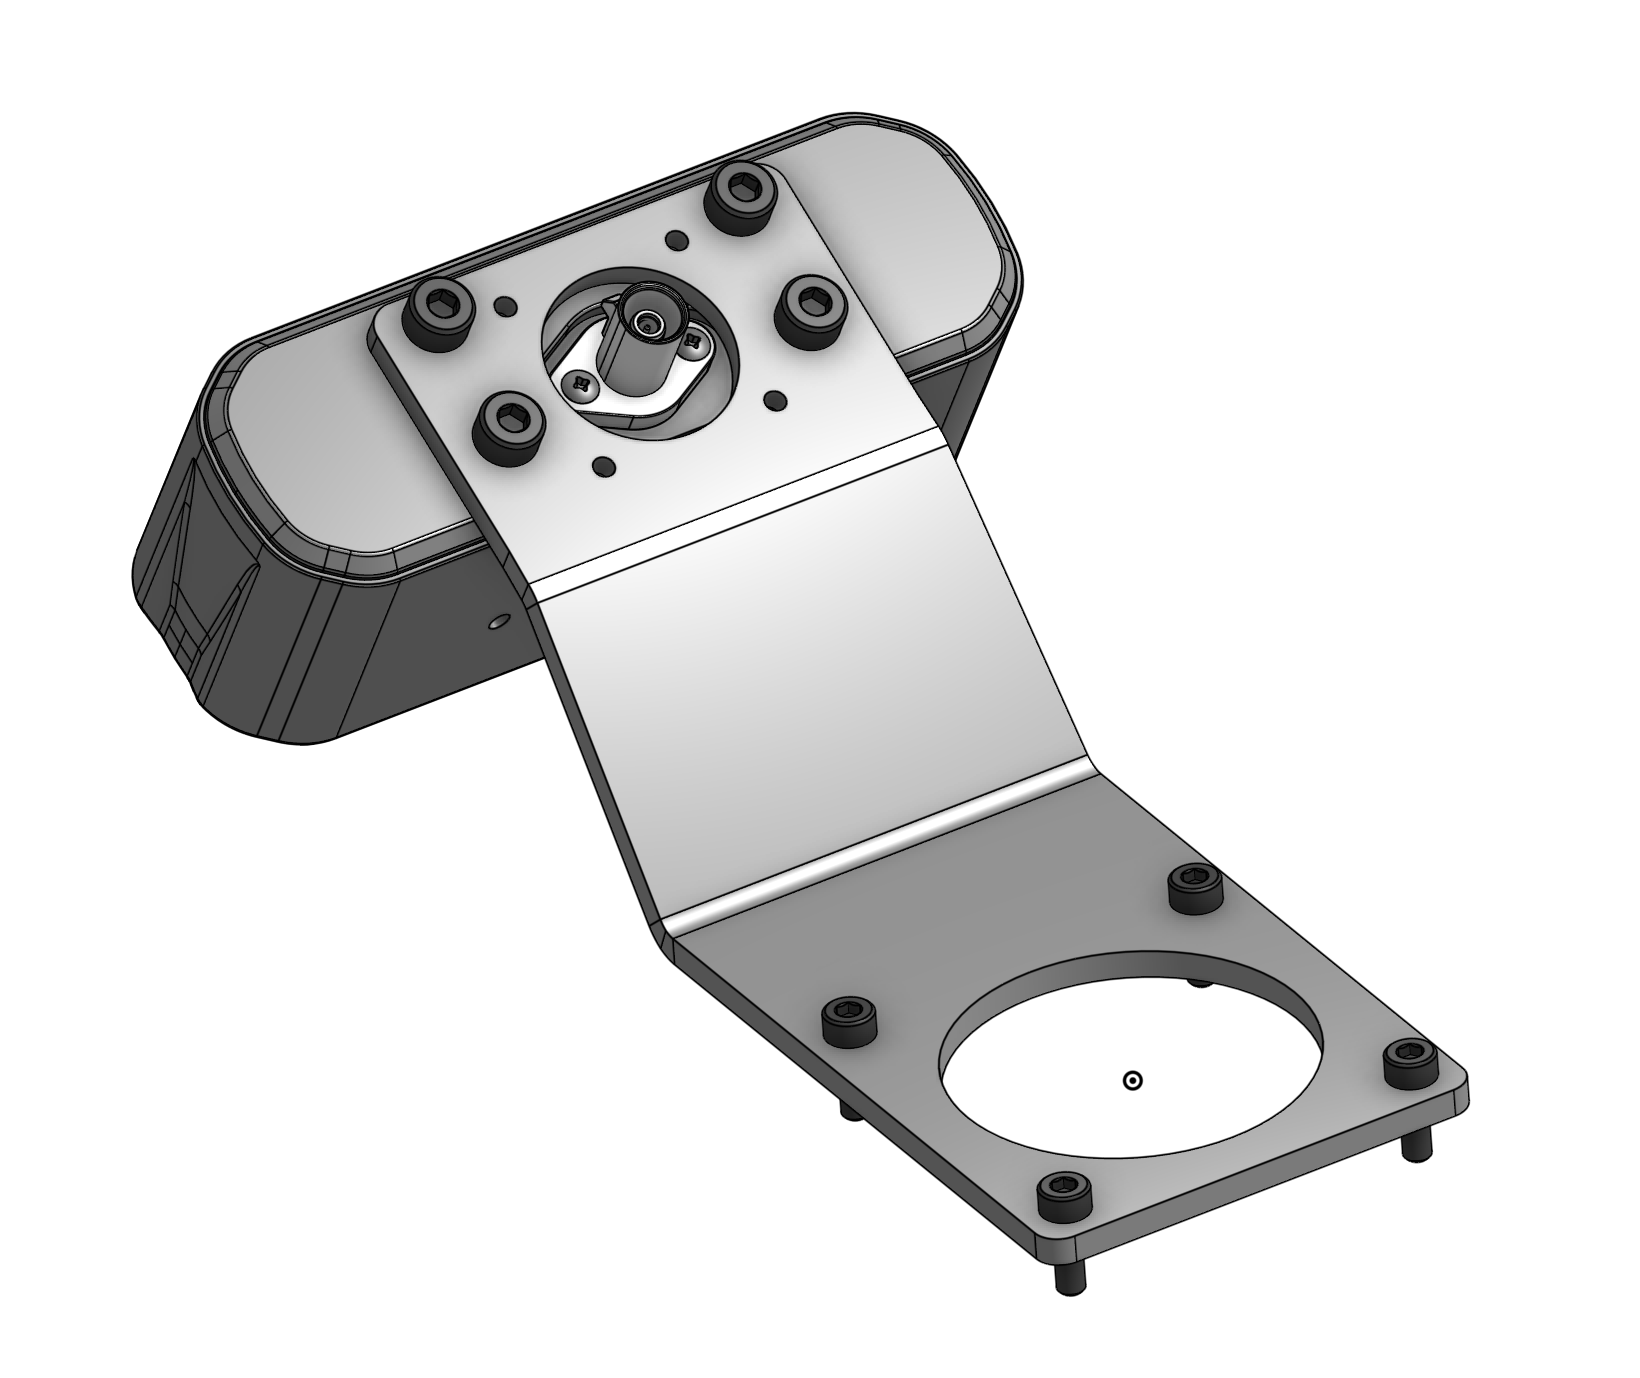
- ZED X Mini - Use 4x M4×8 screws.
- ZED X One S (ZX1S) - Use 4x M2×8 screws (same as the wrist cameras).
2
Mount the bracket to the robot
Attach the camera-and-bracket assembly to the head-camera mounting holes on top of Axol with M4×10 screws.
3
Remove the lens cap
If your head camera is the ZED X One S (ZX1S), remove its lens cap.
Wiring
This section applies to configurations with the Camera Kit and a Compute Kit. Place the compute box and the power supply near the robot, then connect the cables:1
Position the compute
Set the compute box down so its camera, USB, and power cables comfortably reach the back of the robot.
2
Connect the head camera
Run the head camera’s GMSL cable from the camera to a GMSL2 input on the compute.
3
Connect the wrist cameras
Run the shorter GMSL cable from the wrist cameras to the GMSL port on the wrist.
4
Connect USB and compute power
From the back of the robot, run the USB cable to the compute. Plug the compute into its own DC adapter (see Power).
Next steps
Installation
Install Axol on the robot machine and open the web control panel.
Hardware Setup
Back to the setup guides for every configuration.