> ## Documentation Index
> Fetch the complete documentation index at: https://docs.almond.bot/llms.txt
> Use this file to discover all available pages before exploring further.
# Axol + Owl Mount
> Fix the Owl Mount column to a table, bench, or cell, then mount Axol on it.
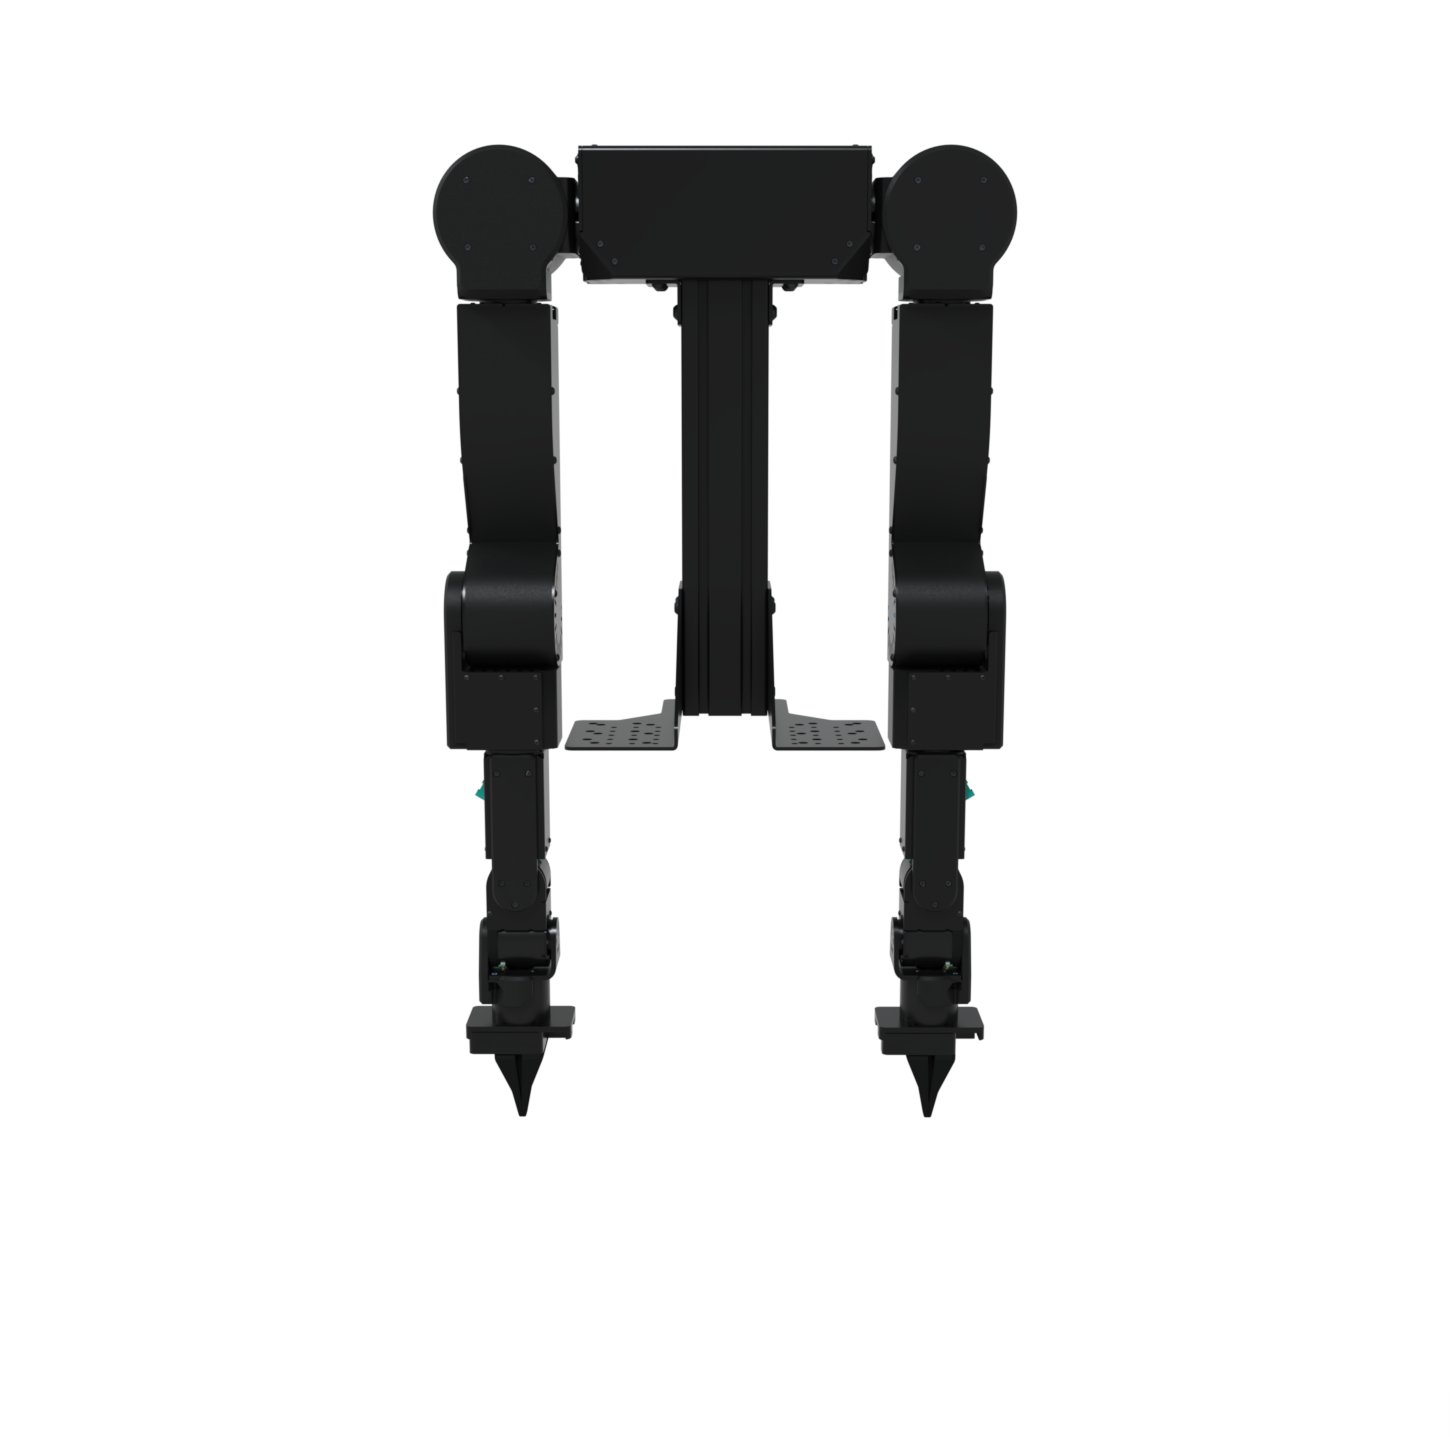 The Owl Mount is a rigid **400mm 8080 aluminum T-slot column** with base brackets for **2020, 4040, and 4545** extrusion patterns. It ships with the Axol mounting plate and all table/fixture hardware. See the [mount drawing](https://www.almond.bot/resources/static_mount.pdf) for dimensions.
### Tools required
You'll need a hex (Allen) key for the socket head cap screws that hold Axol to the mount:
| Screw | Hex key |
| ----- | ------- |
| M8 | 6 mm |
### Fixing the column
Set the column where Axol will work, with its base brackets over the table's T-slots (or your fixture's hole pattern). Leave the column's own T-slots facing where you want to route cables.
Drop T-nuts into the table slots, pass the supplied bolts through the bracket clearance holes that match your extrusion pattern, and tighten them with the 6 mm hex key.
Confirm the column stands square to the table before mounting Axol. A lean here shows up as a tilt in every task.
### Mounting Axol
Axol attaches to its mounting plate with four **M8×12 bolts** and their **locking washers**, threaded in from underneath. See the [mounting holes diagram](https://www.almond.bot/resources/axol_mounting_holes.pdf) for hole positions.
We recommend using **two people** to lift and place it on the mount.
Have the four **M8×12 bolts** and **locking washers** ready, along with a **6 mm hex key**.
With two people, lift Axol and set it on the mount, aligning its mounting holes with the holes in the mounting plate.
From underneath the mounting plate, pass each M8×12 bolt (with its locking washer) up through the plate and into Axol's mounting holes.
Tighten all four bolts with the 6 mm hex key to lock Axol in place.
### Power
Axol is powered at **24V DC, 60A peak** through the XT90 on the back of the robot. Two supplies are available, both 1500W (24V, 62.5A) with an XT90 output:
* **[Standard Power Supply](https://www.almond.bot/standard-power-supply)**: the desktop supply that ships with Axol.
* **[Industrial Power Supply](https://www.almond.bot/industrial-power-supply)**: an industrial-grade supply with a **dedicated E-Stop**, an **integrated power switch**, and a **brake resistor** that safely dissipates back current from the arms. Built for permanent installations and industrial cells.
| | |
| ----------------- | ---------------------- |
| **Robot input** | 24V DC, 60A peak, XT90 |
| **Supply output** | 1500W (24V, 62.5A) |
| **DC cable** | 1.5m XT90 male–female |
| **AC** | Power-supply AC cord |
Set the supply near the robot so the XT90 cable comfortably reaches the back of the robot.
Plug the XT90 cable from the robot into the power supply.
Plug the E-Stop into the supply and place it somewhere accessible. The supply will not turn on without the E-Stop connected.
Plug the AC cord from the supply into a wall outlet, then switch the supply on. On the Industrial Power Supply, press the integrated power switch to power the robot.
On the Industrial Power Supply, pressing the E-Stop cuts arm power instantly. To restore power, release the E-Stop and press the power switch again.
The supply is 1500W. Use a dedicated wall outlet.
The Compute Kit is powered separately. Use the DC adapter that ships with it (the ZED Box Orin takes **12–19V**, up to 60W).
Abruptly shutting down the Jetson can sometimes corrupt the OS. Shut it down from the OS first, then unplug its adapter.
## Next steps
Mount the Camera Kit's wrist and head cameras and wire them to the compute.
Install Axol on the robot machine and open the web control panel.
Back to the setup guides for every configuration.
The Owl Mount is a rigid **400mm 8080 aluminum T-slot column** with base brackets for **2020, 4040, and 4545** extrusion patterns. It ships with the Axol mounting plate and all table/fixture hardware. See the [mount drawing](https://www.almond.bot/resources/static_mount.pdf) for dimensions.
### Tools required
You'll need a hex (Allen) key for the socket head cap screws that hold Axol to the mount:
| Screw | Hex key |
| ----- | ------- |
| M8 | 6 mm |
### Fixing the column
Set the column where Axol will work, with its base brackets over the table's T-slots (or your fixture's hole pattern). Leave the column's own T-slots facing where you want to route cables.
Drop T-nuts into the table slots, pass the supplied bolts through the bracket clearance holes that match your extrusion pattern, and tighten them with the 6 mm hex key.
Confirm the column stands square to the table before mounting Axol. A lean here shows up as a tilt in every task.
### Mounting Axol
Axol attaches to its mounting plate with four **M8×12 bolts** and their **locking washers**, threaded in from underneath. See the [mounting holes diagram](https://www.almond.bot/resources/axol_mounting_holes.pdf) for hole positions.
We recommend using **two people** to lift and place it on the mount.
Have the four **M8×12 bolts** and **locking washers** ready, along with a **6 mm hex key**.
With two people, lift Axol and set it on the mount, aligning its mounting holes with the holes in the mounting plate.
From underneath the mounting plate, pass each M8×12 bolt (with its locking washer) up through the plate and into Axol's mounting holes.
Tighten all four bolts with the 6 mm hex key to lock Axol in place.
### Power
Axol is powered at **24V DC, 60A peak** through the XT90 on the back of the robot. Two supplies are available, both 1500W (24V, 62.5A) with an XT90 output:
* **[Standard Power Supply](https://www.almond.bot/standard-power-supply)**: the desktop supply that ships with Axol.
* **[Industrial Power Supply](https://www.almond.bot/industrial-power-supply)**: an industrial-grade supply with a **dedicated E-Stop**, an **integrated power switch**, and a **brake resistor** that safely dissipates back current from the arms. Built for permanent installations and industrial cells.
| | |
| ----------------- | ---------------------- |
| **Robot input** | 24V DC, 60A peak, XT90 |
| **Supply output** | 1500W (24V, 62.5A) |
| **DC cable** | 1.5m XT90 male–female |
| **AC** | Power-supply AC cord |
Set the supply near the robot so the XT90 cable comfortably reaches the back of the robot.
Plug the XT90 cable from the robot into the power supply.
Plug the E-Stop into the supply and place it somewhere accessible. The supply will not turn on without the E-Stop connected.
Plug the AC cord from the supply into a wall outlet, then switch the supply on. On the Industrial Power Supply, press the integrated power switch to power the robot.
On the Industrial Power Supply, pressing the E-Stop cuts arm power instantly. To restore power, release the E-Stop and press the power switch again.
The supply is 1500W. Use a dedicated wall outlet.
The Compute Kit is powered separately. Use the DC adapter that ships with it (the ZED Box Orin takes **12–19V**, up to 60W).
Abruptly shutting down the Jetson can sometimes corrupt the OS. Shut it down from the OS first, then unplug its adapter.
## Next steps
Mount the Camera Kit's wrist and head cameras and wire them to the compute.
Install Axol on the robot machine and open the web control panel.
Back to the setup guides for every configuration.