> ## Documentation Index
> Fetch the complete documentation index at: https://docs.almond.bot/llms.txt
> Use this file to discover all available pages before exploring further.
# Axol Cameras
> Mount the Camera Kit's wrist and head cameras on Axol and wire them to the compute.
This guide applies to every mount. Finish mounting Axol first ([Axol Standalone](/hardware-setup/standalone), [Owl Mount](/hardware-setup/owl-mount), [Ox Cart](/hardware-setup/ox-cart), or [Jelly](/hardware-setup/jelly)), then fit the cameras here. The kit's contents are listed in the [Camera Kit overview](/hardware#camera-kit-overview).
### Tools required
You'll need hex (Allen) keys for the socket head cap screws on the camera mounts:
| Screw | Hex key |
| ----- | ------- |
| M4 | 3 mm |
| M3 | 2.5 mm |
| M2 | 1.5 mm |
### Mounting the cameras
This section applies to configurations with the **Camera Kit**.
Before mounting each camera, scan the **QR code on the back** to grab its serial ID and note down which camera goes where (left wrist, right wrist, head). You'll need this mapping later to match each camera ID to its position.
#### Wrist cameras
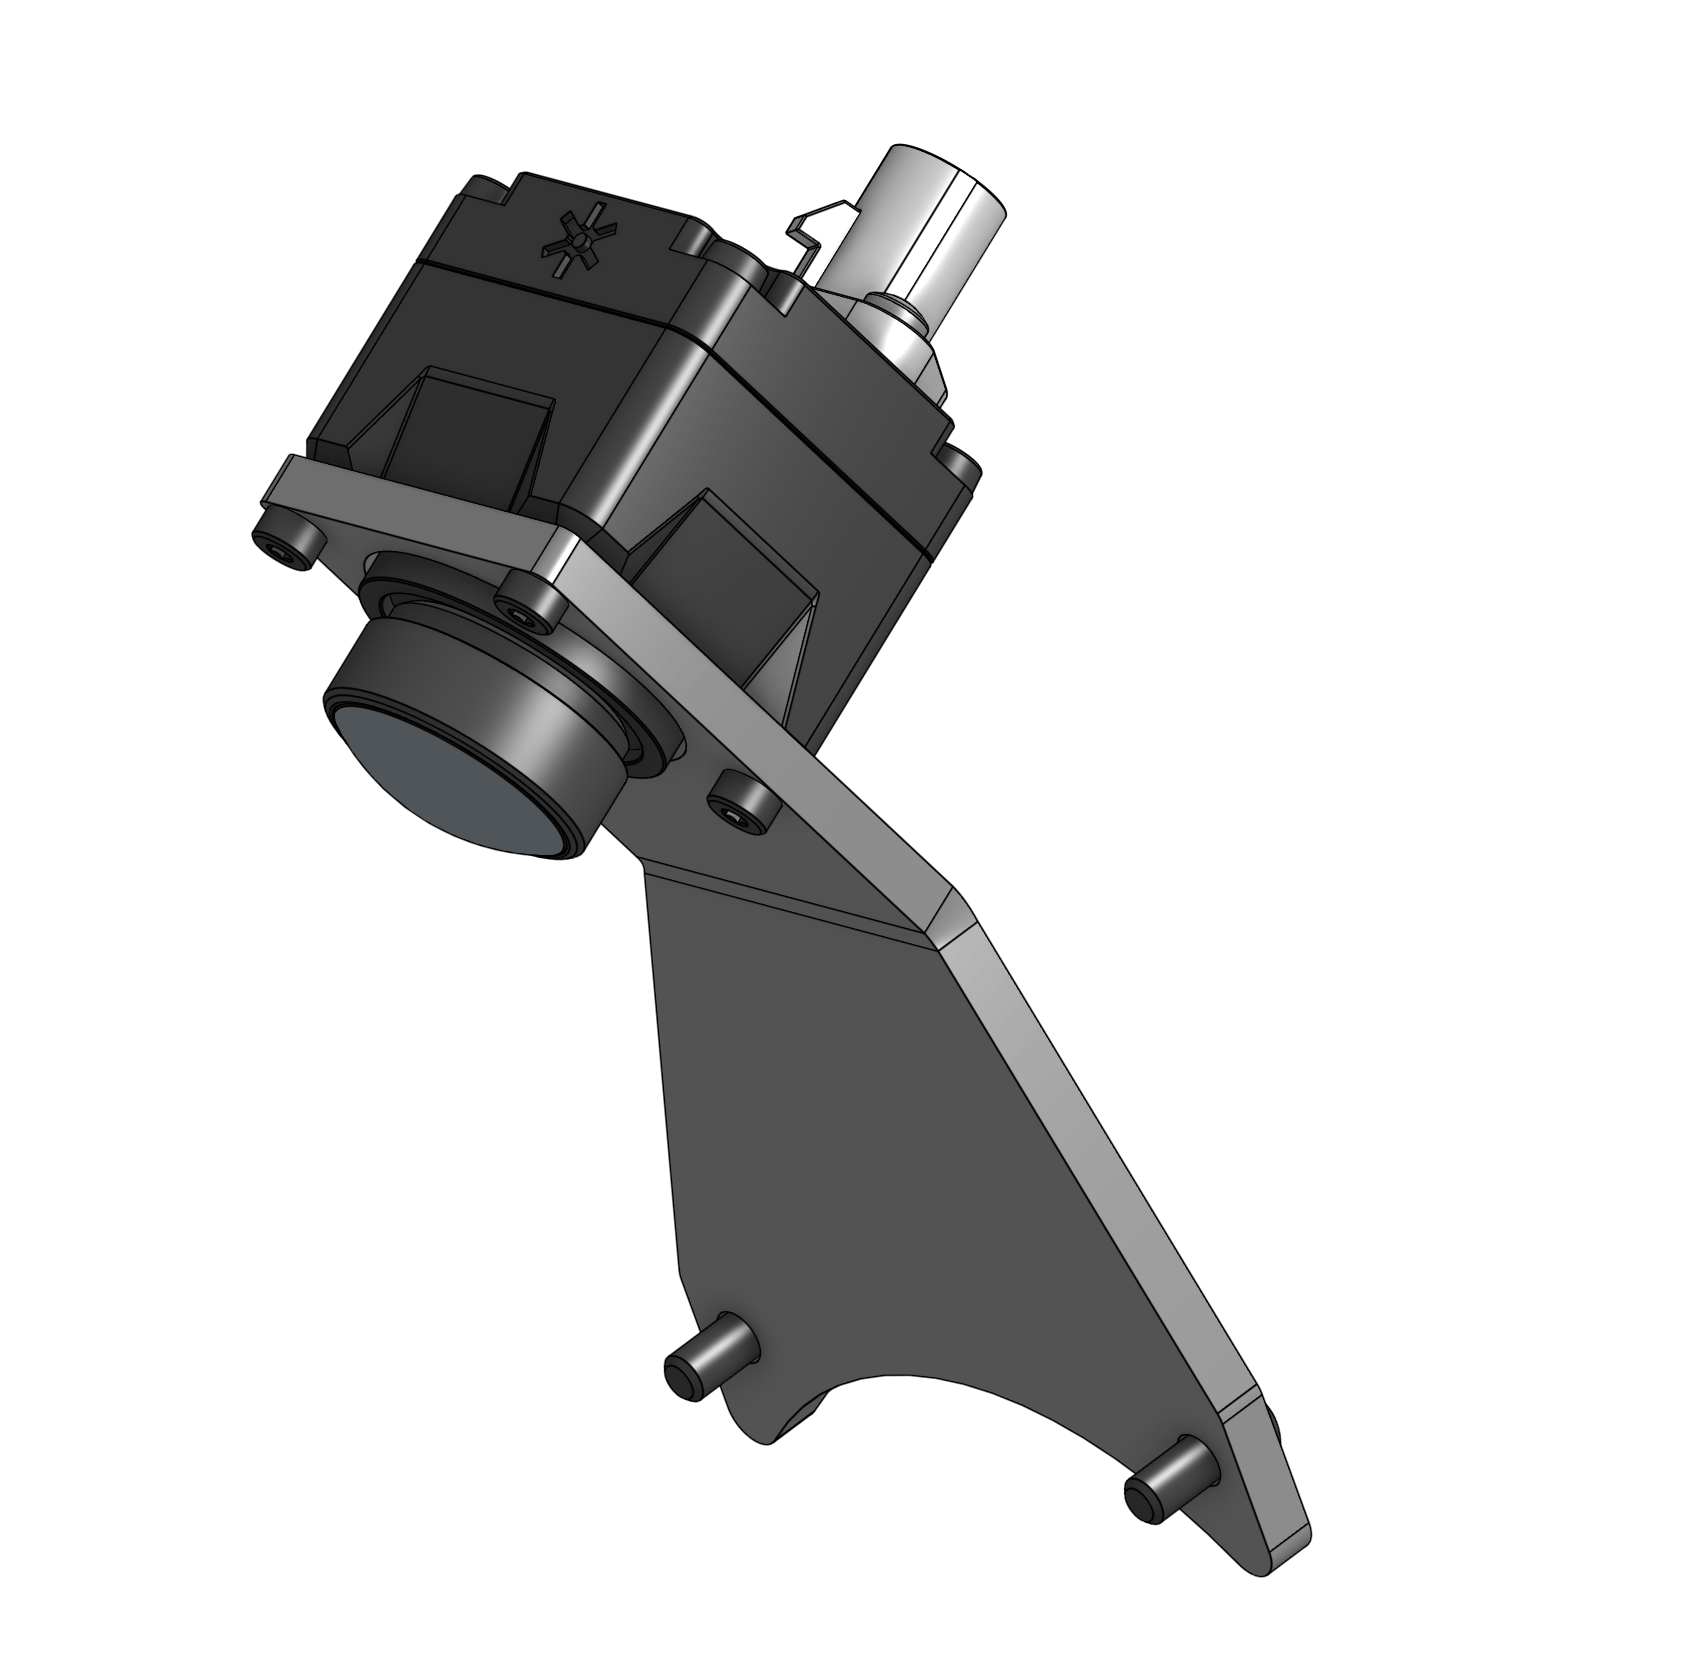
Fasten each wrist camera to its mount with 4x **M2×8 screws**.
 Attach the camera-and-bracket assembly to the wrist with **M3×8 screws**.
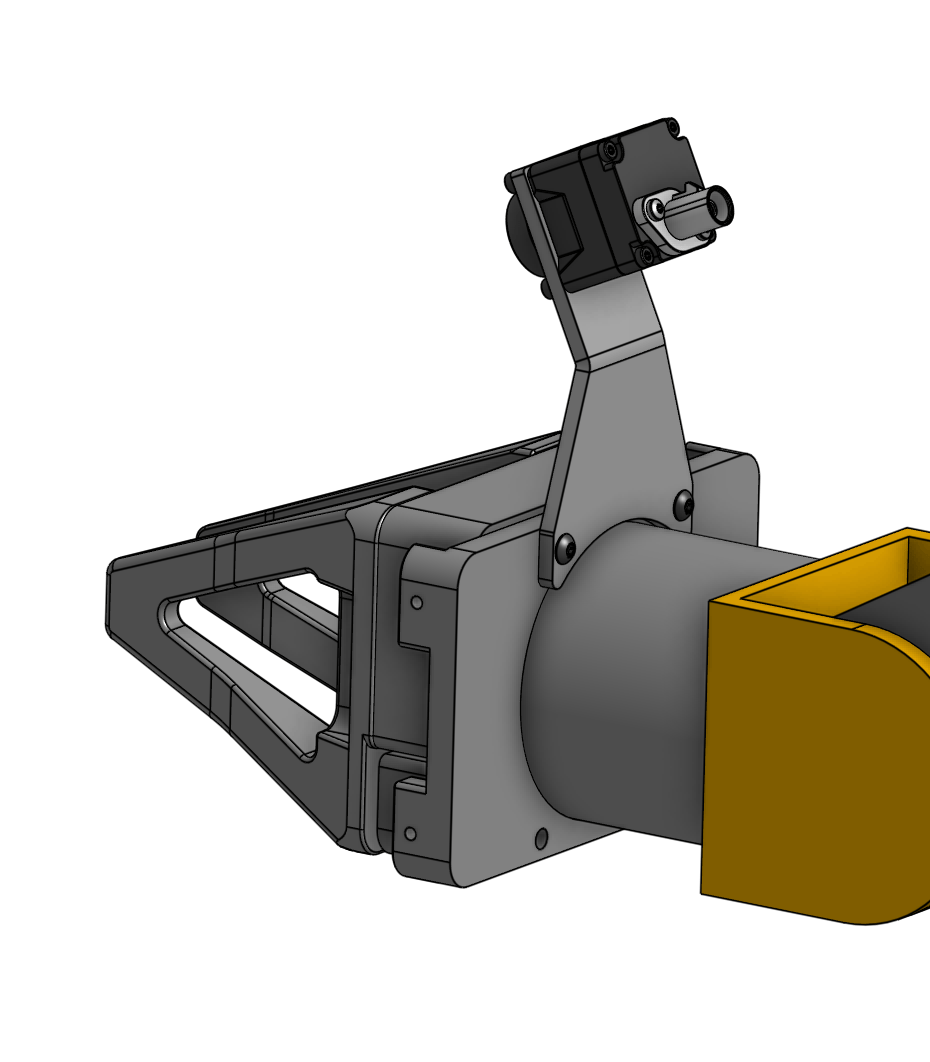 Remove the lens cap from the wrist camera.
#### Head camera
The head camera screws depend on which model your Camera Kit ships with:
* **ZED X Mini** - Use 4x **M4×8 screws**.
* **ZED X One S (ZX1S)** - Use 4x **M2×8 screws** (same as the wrist cameras).
Remove the lens cap from the wrist camera.
#### Head camera
The head camera screws depend on which model your Camera Kit ships with:
* **ZED X Mini** - Use 4x **M4×8 screws**.
* **ZED X One S (ZX1S)** - Use 4x **M2×8 screws** (same as the wrist cameras).
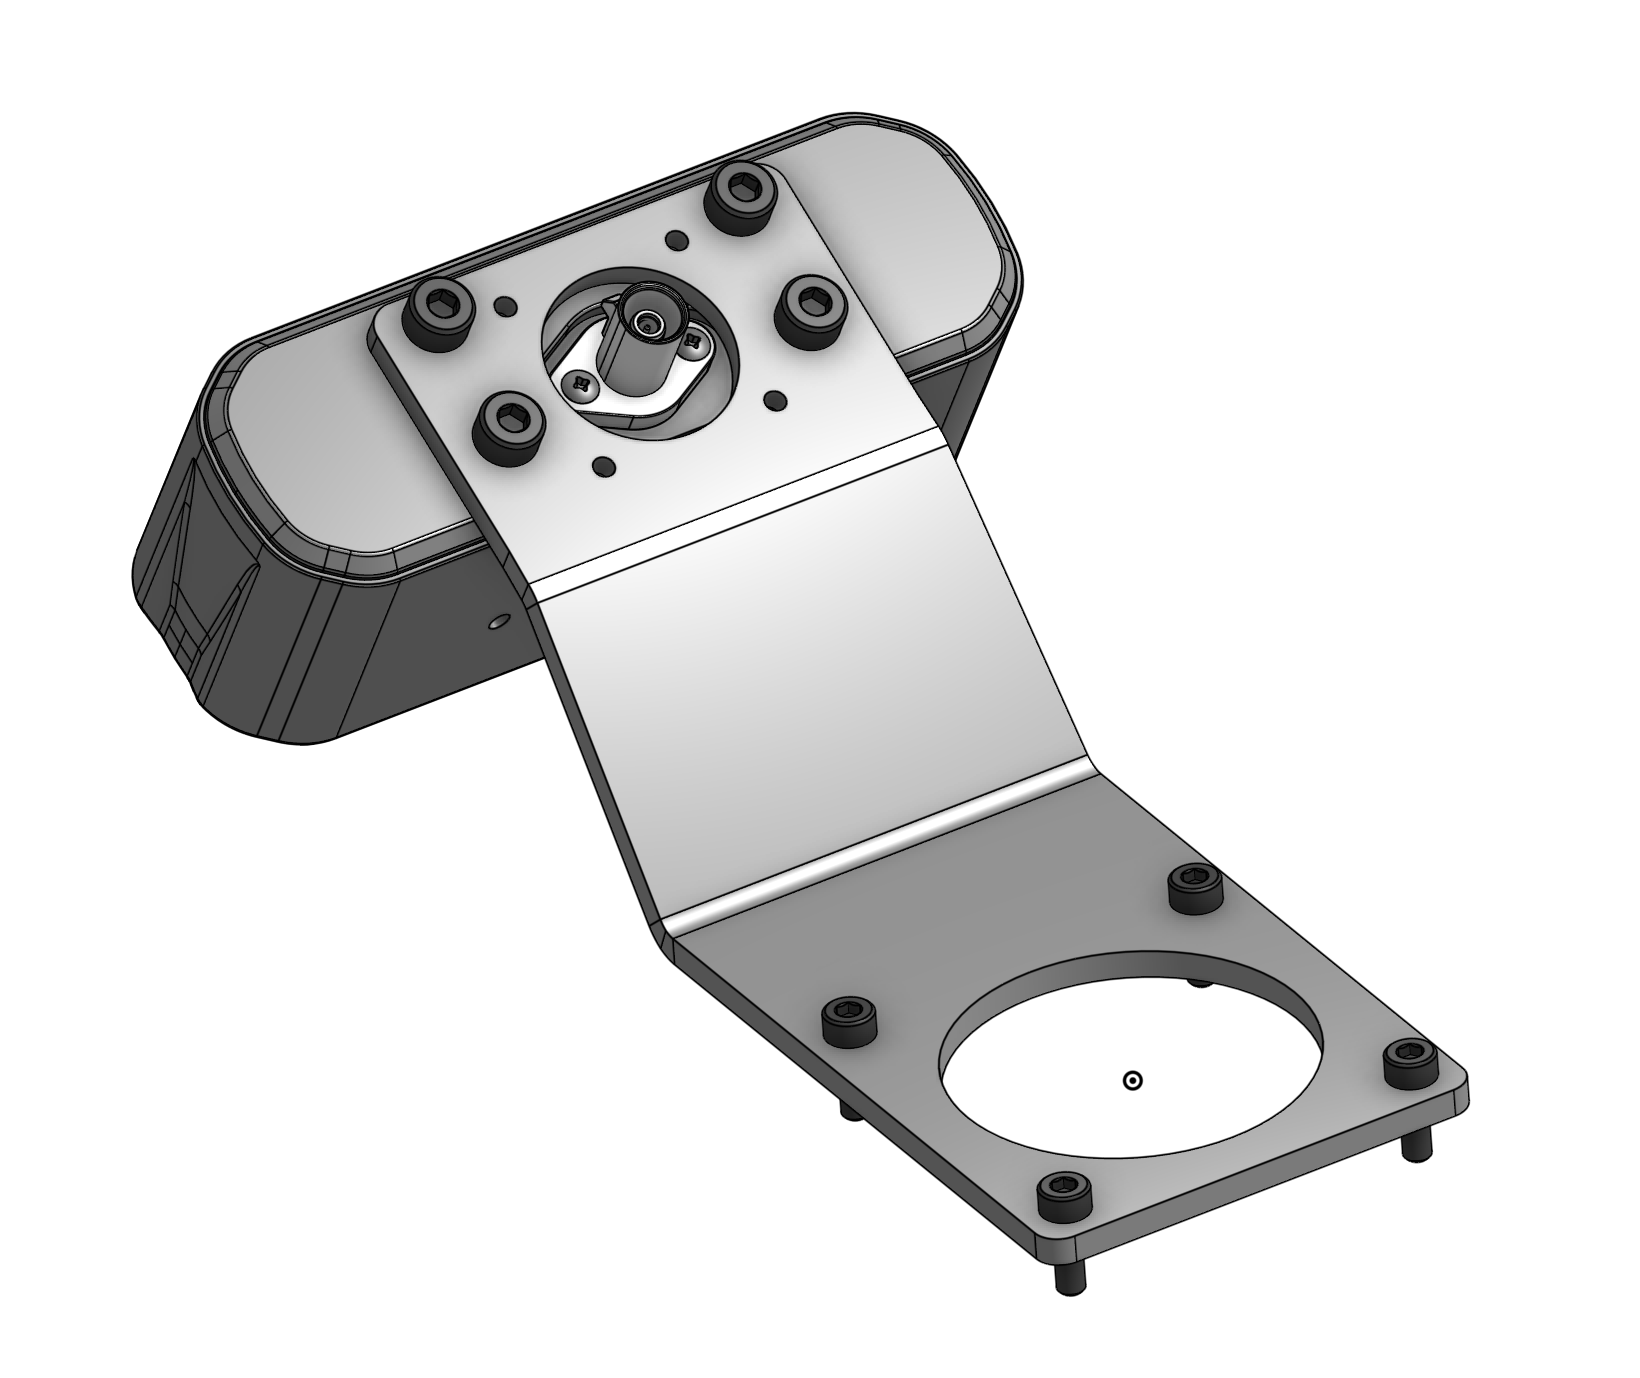 Attach the camera-and-bracket assembly to the head-camera mounting holes on top of Axol with **M4×10 screws**.
If your head camera is the **ZED X One S (ZX1S)**, remove its lens cap.
### Wiring
This section applies to configurations with the **Camera Kit** and a **Compute Kit**.
Place the compute box and the power supply near the robot, then connect the cables:
Set the compute box down so its camera, USB, and power cables comfortably reach the back of the robot.
Run the head camera's **GMSL** cable from the camera to a GMSL2 input on the compute.
Run the shorter **GMSL** cable from the wrist cameras to the GMSL port on the wrist.
From the back of the robot, run the **USB** cable to the compute. Plug the compute into its own DC adapter (see [Power](#power)).
## Next steps
Install Axol on the robot machine and open the web control panel.
Back to the setup guides for every configuration.
Attach the camera-and-bracket assembly to the head-camera mounting holes on top of Axol with **M4×10 screws**.
If your head camera is the **ZED X One S (ZX1S)**, remove its lens cap.
### Wiring
This section applies to configurations with the **Camera Kit** and a **Compute Kit**.
Place the compute box and the power supply near the robot, then connect the cables:
Set the compute box down so its camera, USB, and power cables comfortably reach the back of the robot.
Run the head camera's **GMSL** cable from the camera to a GMSL2 input on the compute.
Run the shorter **GMSL** cable from the wrist cameras to the GMSL port on the wrist.
From the back of the robot, run the **USB** cable to the compute. Plug the compute into its own DC adapter (see [Power](#power)).
## Next steps
Install Axol on the robot machine and open the web control panel.
Back to the setup guides for every configuration.